Spring 2017

Starting an Art Yarn Pattern from Scratch.

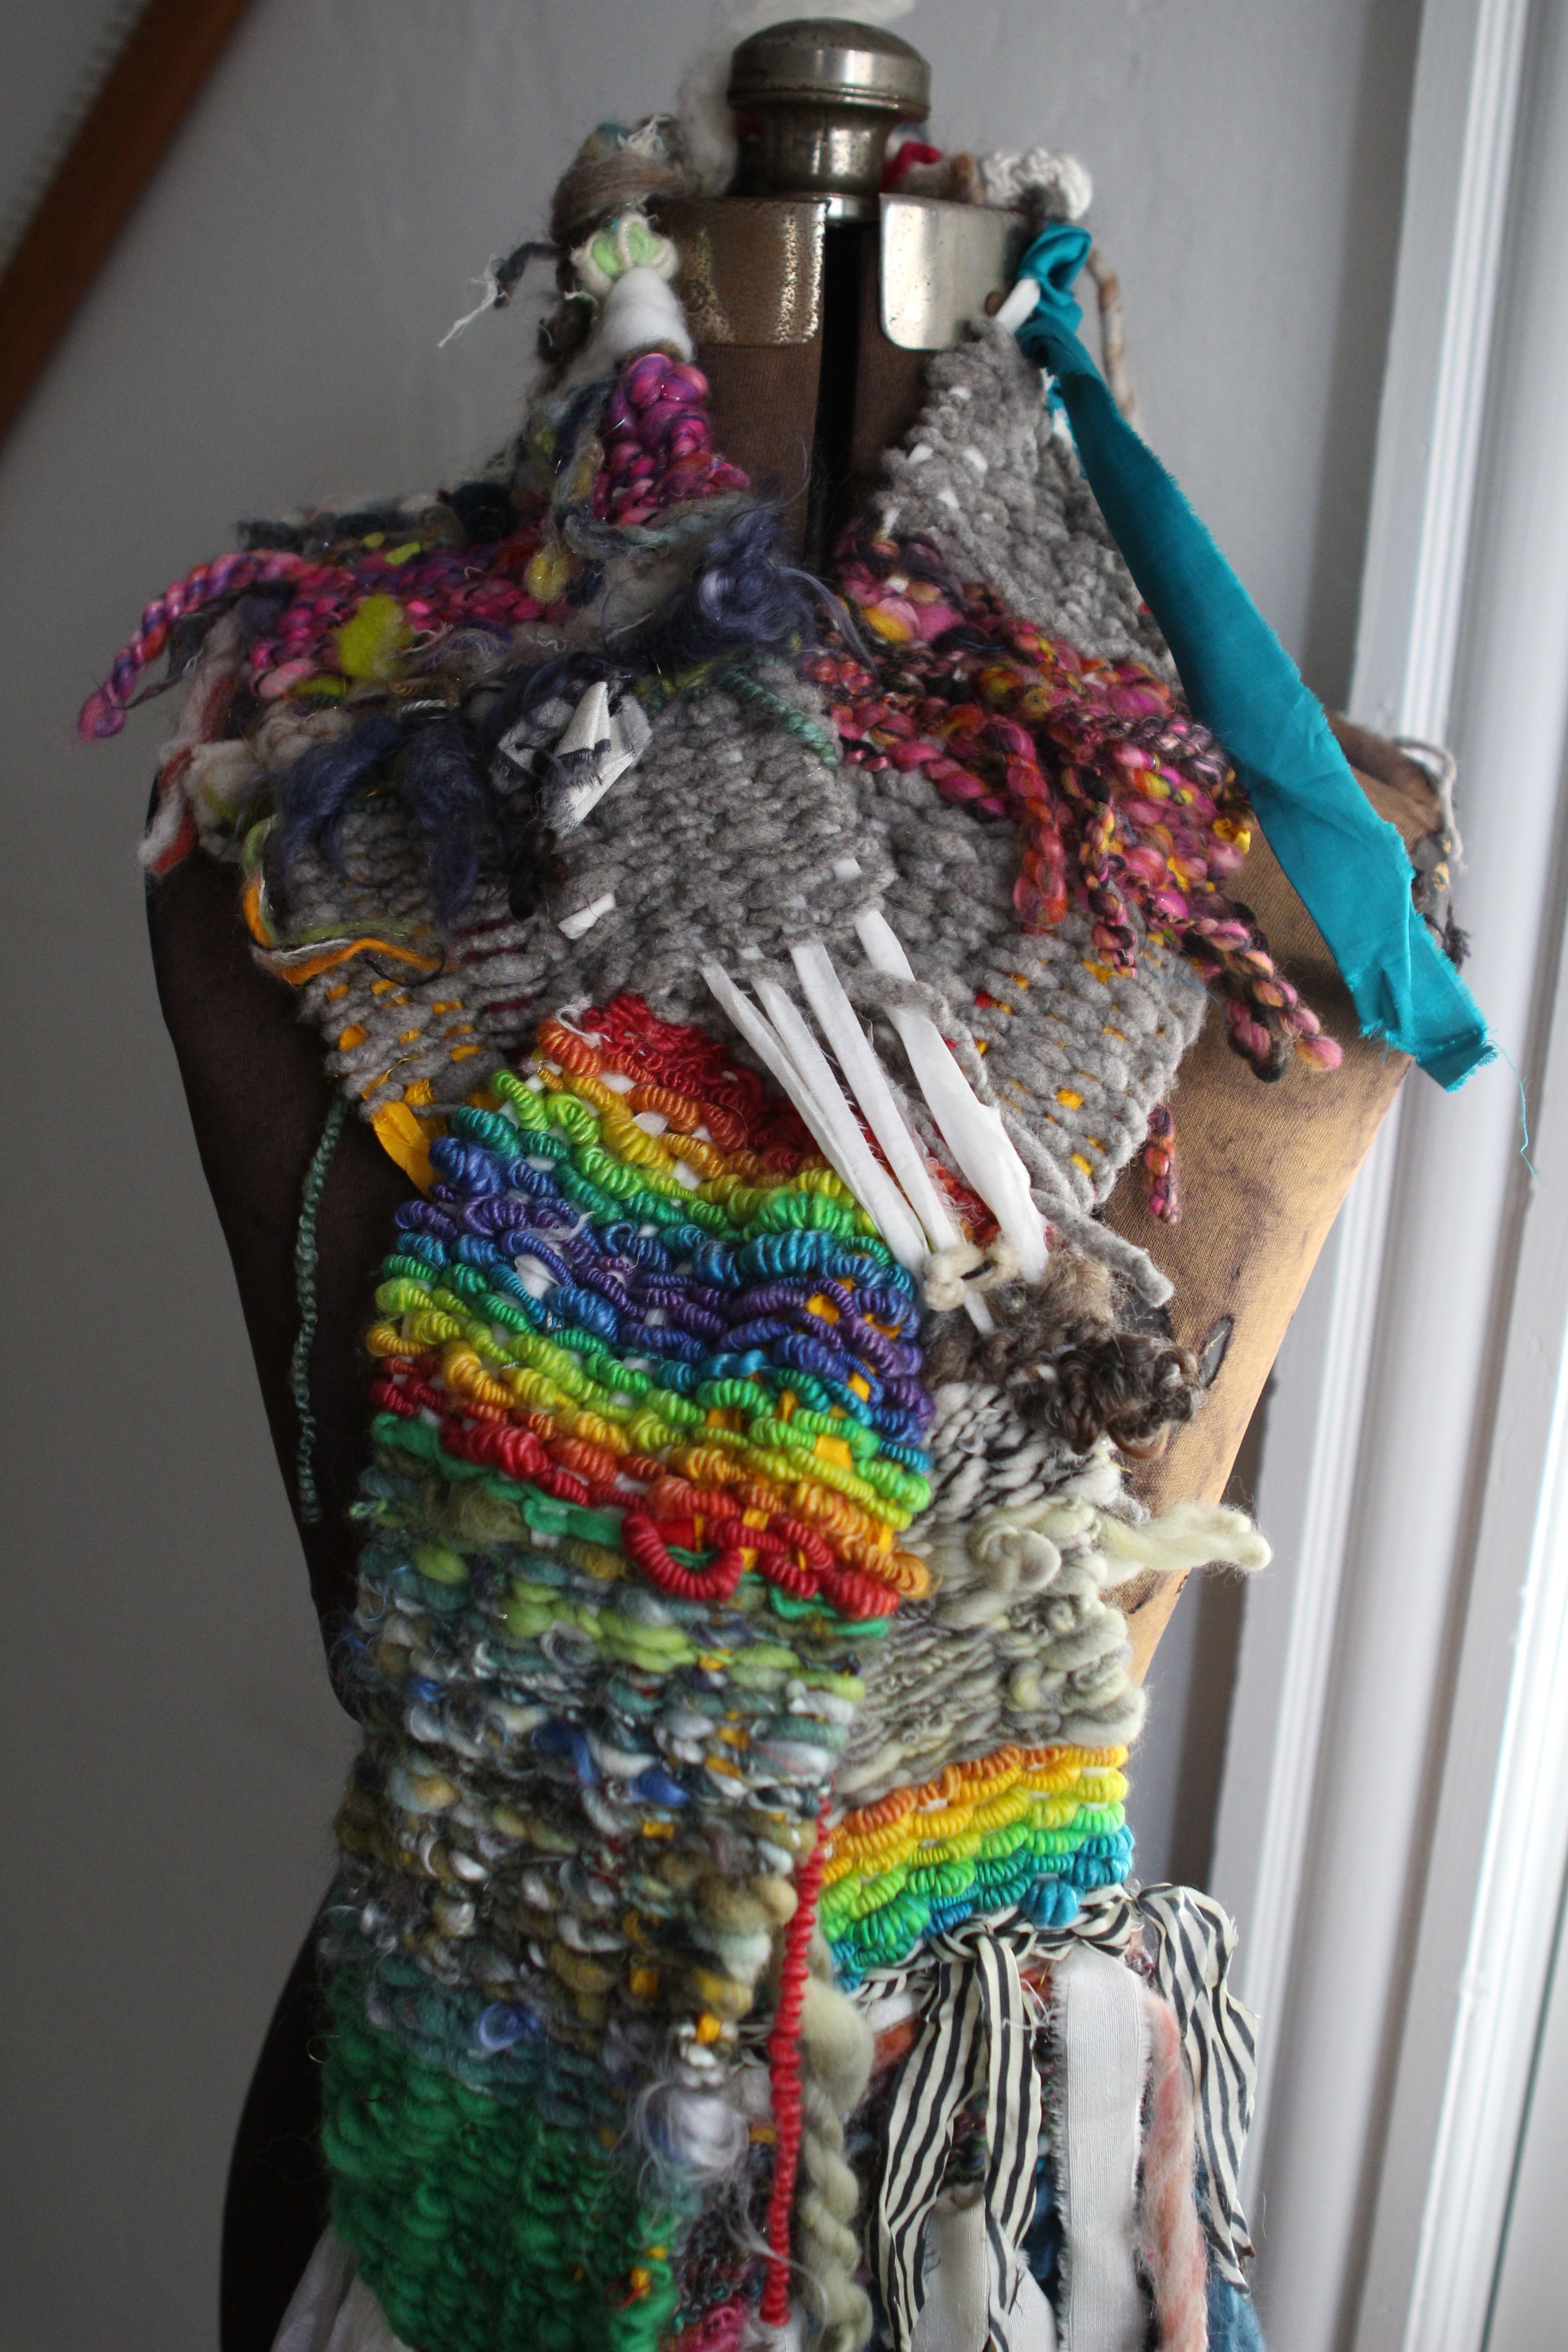
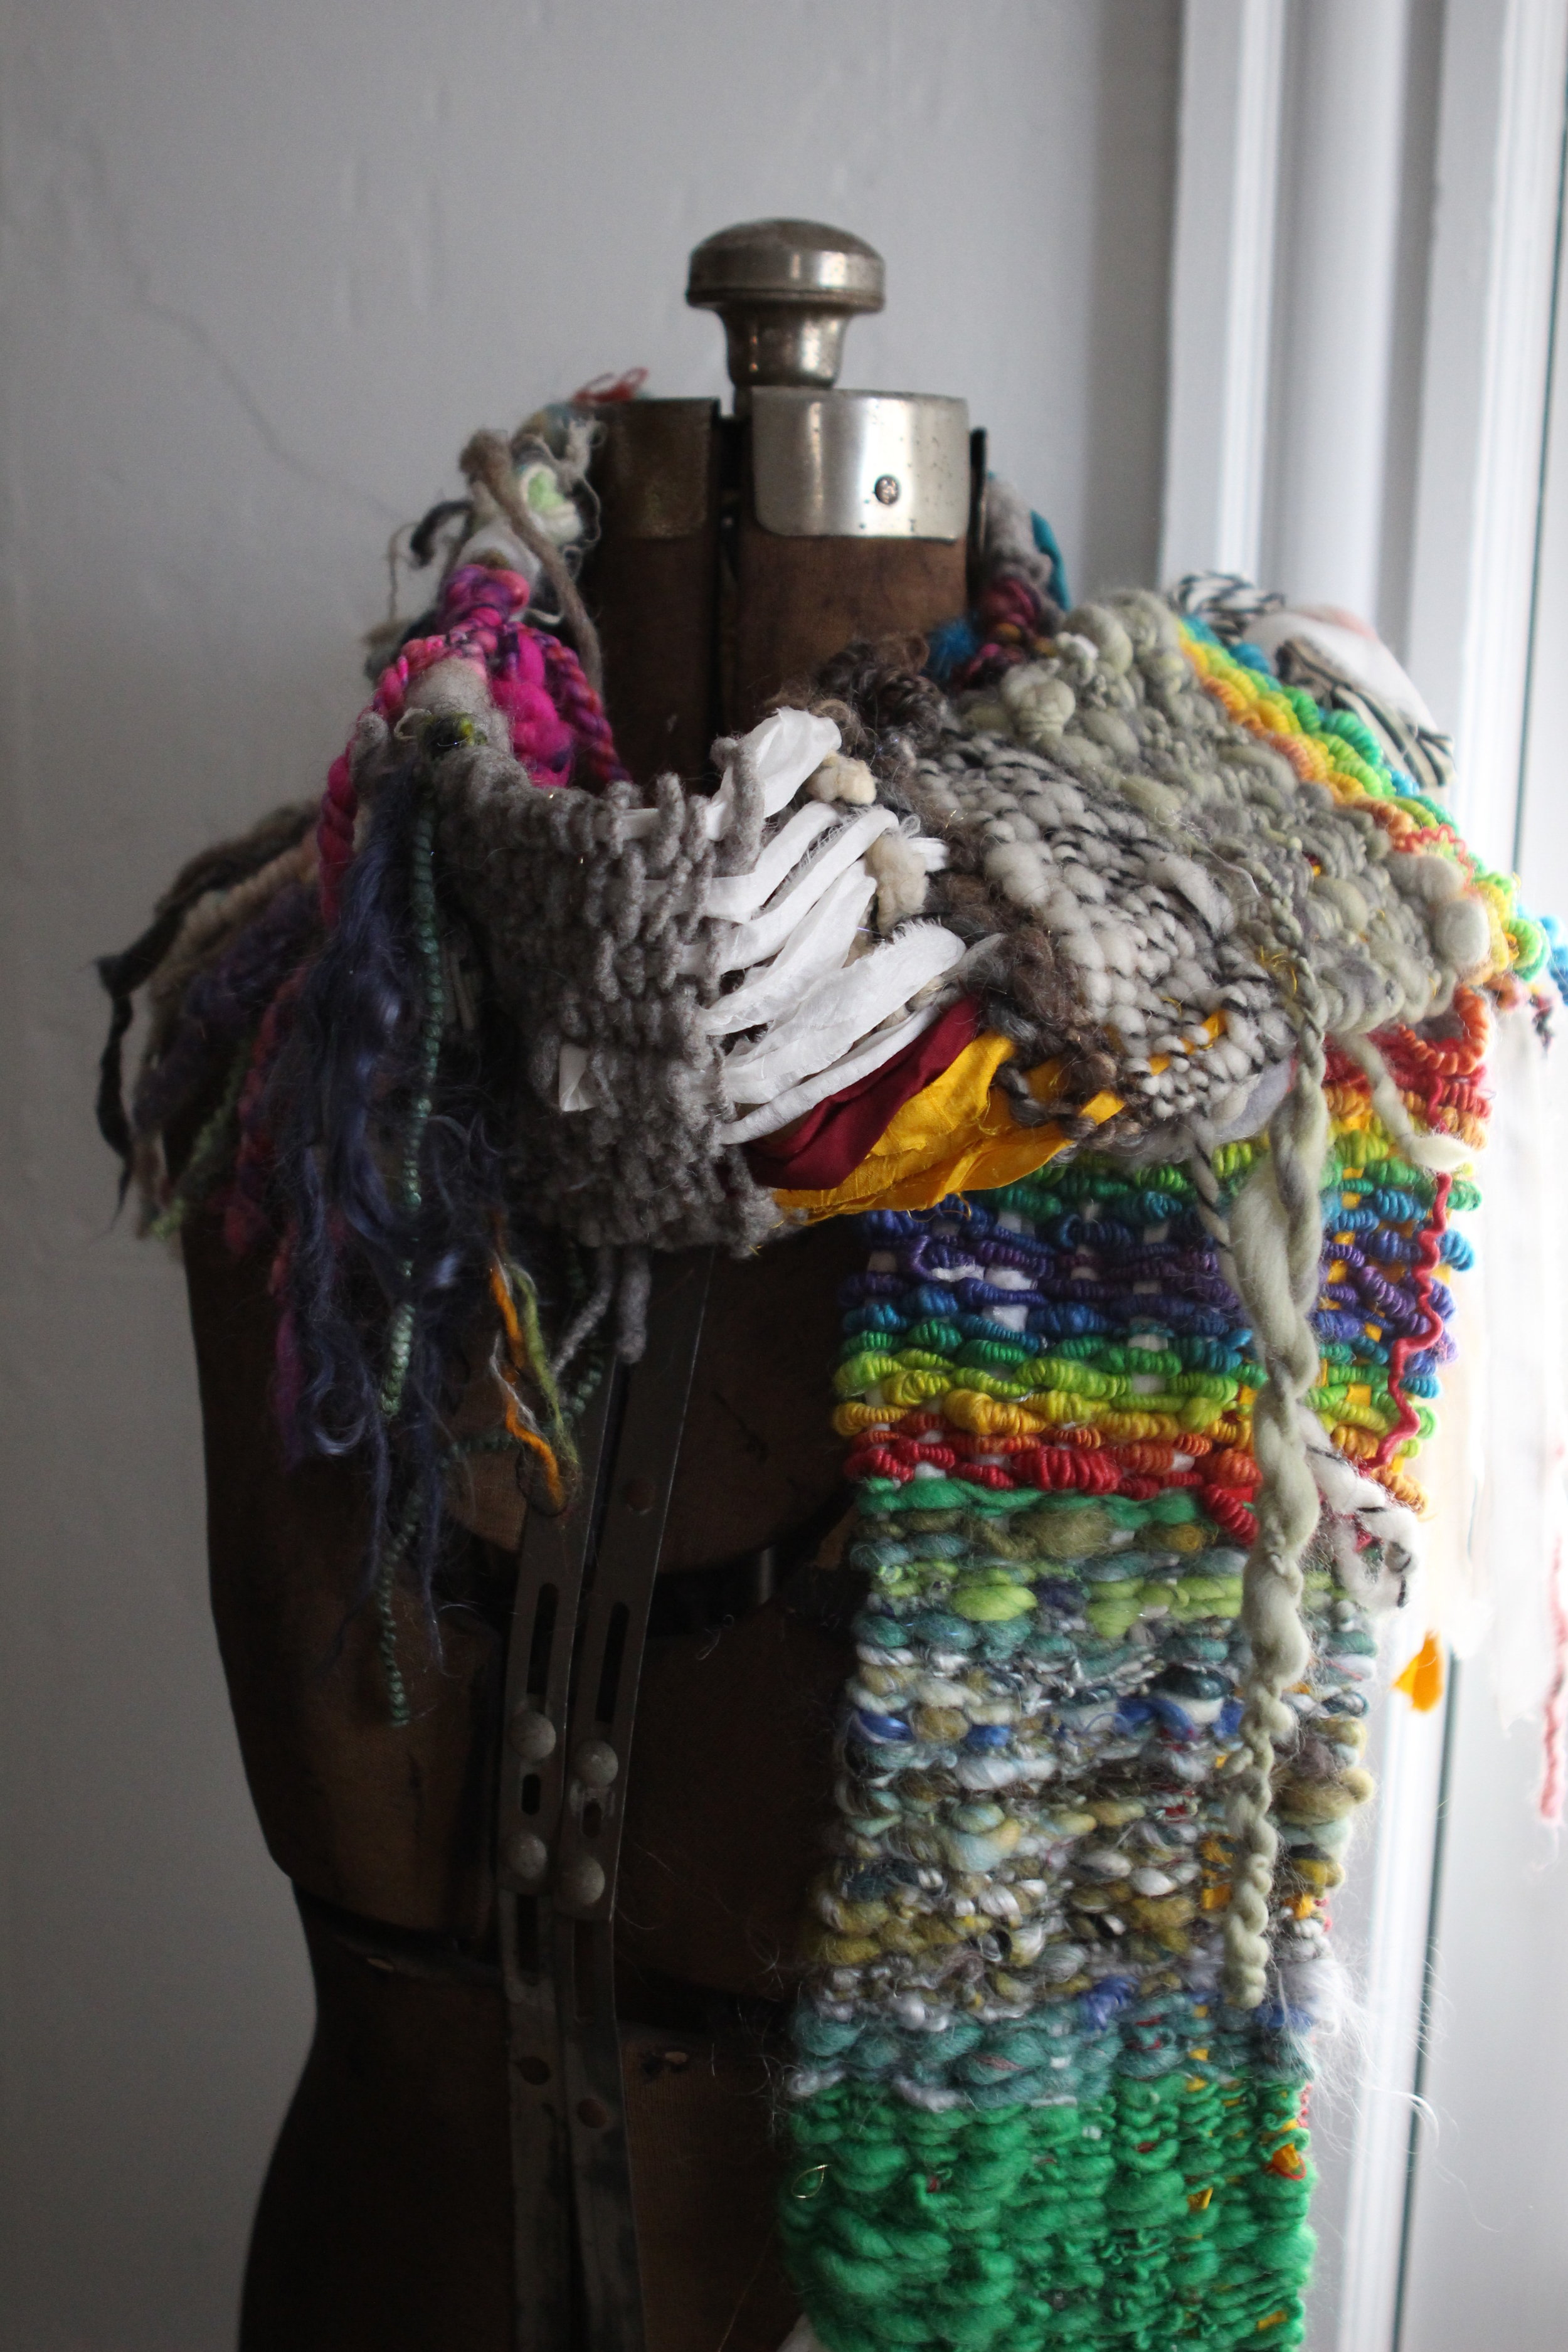
Back when Dayna and I were discussing how to display art yarns used in patterns, I made lists and lists of "methods" in a composition book for pattern ideas. I thought some of you intuitive creatives might find this list helpful when you have a beautiful skein of art yarn and you're not sure how it would look best displayed in a scarf.

Lists like this help me think about all my options before casting on. I hope this helps you too in your knit and crochet designs. Below I use the words "knit" and "needles" - but all of these could also be applied to crochet (or weaving weft!)

IMG_0019.JPG

One Yarn. Just knit the yarn on big needles. Cast on more stitches for a wider scarf, or fewer for a smaller scarf. The size of the scarf will vary depending on the yardage you have. If you are sure you don't have enough yardage, see the other ideas below. 

Two Yarns Together. Hold both yarns together and knit. This helps if the original yarn you want to knit is too fine for the needles you want to use. Or if you just want to bulk up the yarn. You'll need enough yardage to complete the project. If you don't have enough yardage, try another method below.

Three Yarns Together. Like the above. Or Four. Or Five. I've taken 6 skeins of lace weight and crochet them into a puff stitch cowl that looks absolutely divine and fluffy. I prefer a bulkier look, but those super super fine yarns all combined together are stunning. 

Striped Textures. These always remind me of the Hogwarts scarves, but you can play with this idea. Try different horizontal textures, and different widths. You can also knit a scarf in the round with stripes - making a doubly thick fabric. Stripes are a great way to use up little bits of art yarn that aren't enough yardage for a full project. To keep your gauge the same - combine an extra yarn with finer yarns and use the biggest / bulkiest yarn as your "gauge" to follow.

Handspun + Commercial. I call this "blocking" because it reminds me of adding a pop of color in fashion design. You could knit lengthwise a few rows of commercial, then one long row of a super bulky textured handspun, then a few more rows of commercial. Or knit art yarn and commercial yarn in horizontal stripes.

Dropped Stitches. This is one of my favorites. Try dropping a stitch at the beginning, or middle, or end of a project. Do a yarn over to replace the stitch if you want to drop another stitch later without the scarf losing much gauge. I also love tucking the ends of scarves thru the holes created by dropped stitches. Bulky art yarns, especially tail spun, love being dropped. 

Elongated Stitches. You can find a tutorial for this on our site under videos. Wrap the yarn around the needles twice before pulling the stitch thru. This is similar to a double crochet. Wrap the yarn around the needles three times = Triple Crochet. This method creates a drapey, open, stretchy fabric that is easy to wear. 

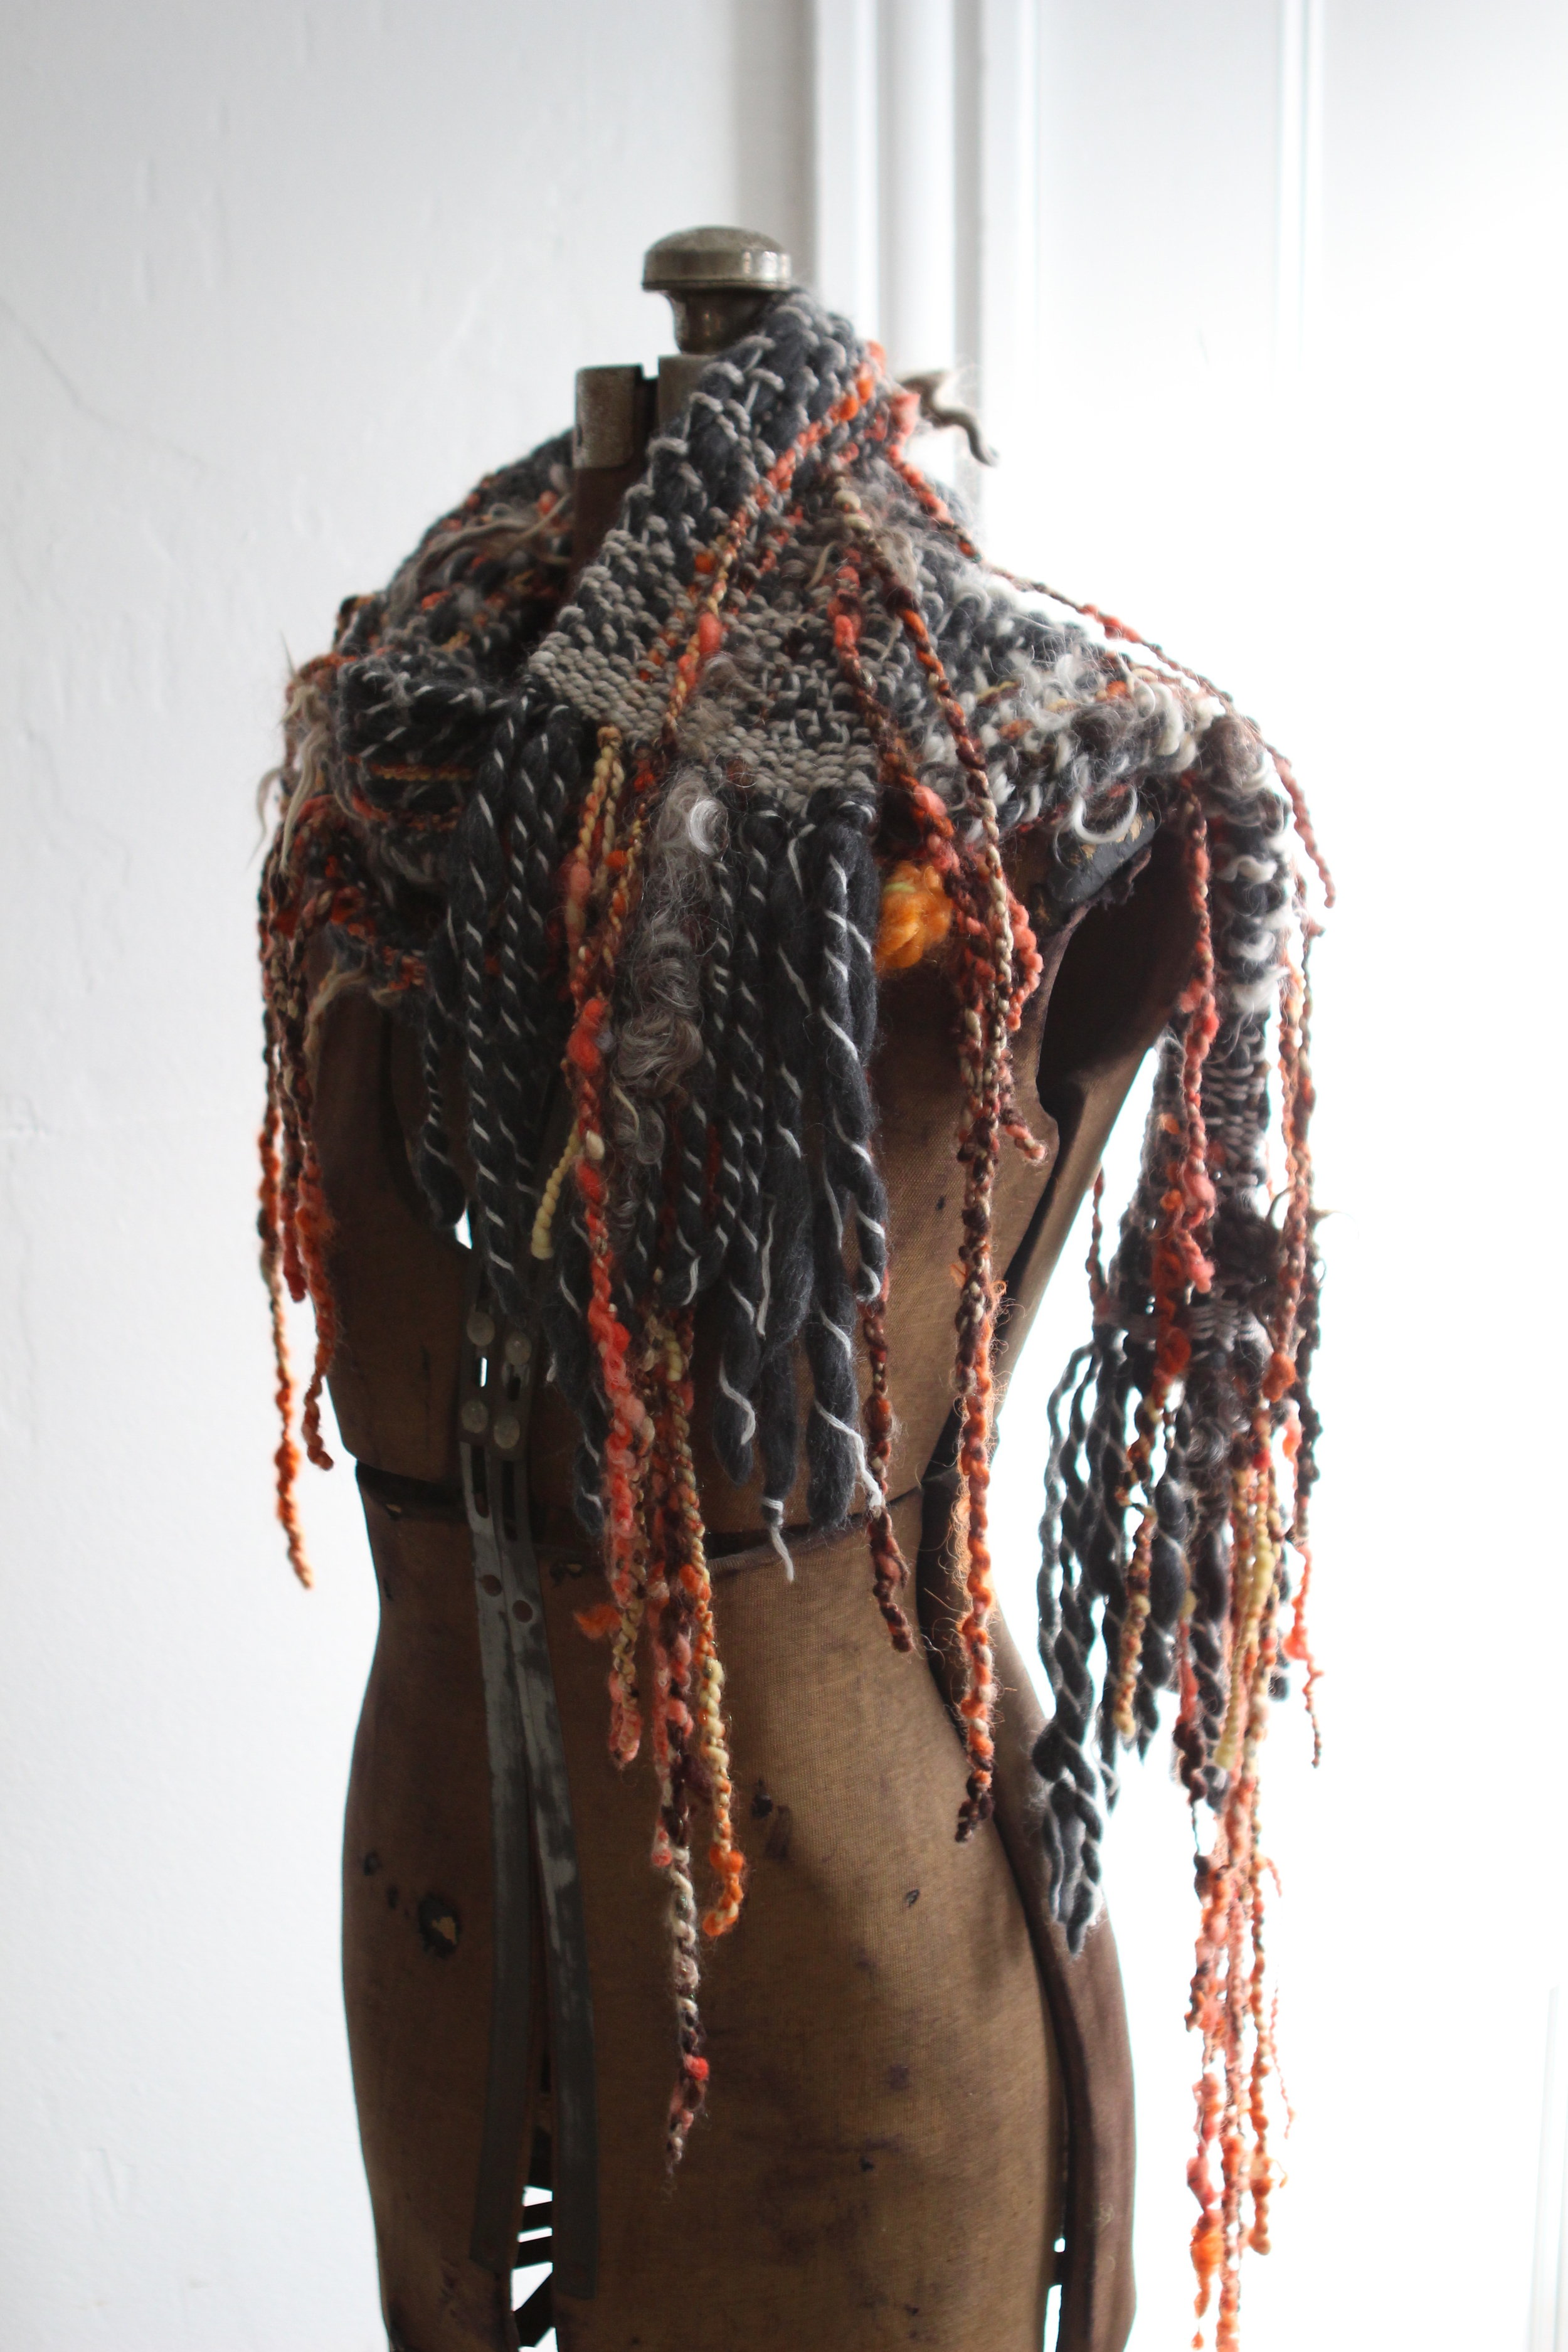
Fringe. Try making a crochet chain or a narrow scarf and then adding art yarn fringe all up and down the scarf, down the middle, or just at the ends. Fringe can transform any project and looks absolutely fantastic with a jacket as a statement piece.

Hooded. Knit or crochet a large hat , then add a scarf to it on either side to wrap around your neck. You can put any two pieces together. A pixie hat + scarf. A boxy hat + scarf. Just pick up stitches on the hat and knit until the scarf is the length you want to create this design.

Add Pockets. Knit a wide scarf using any of the designs above, make it extra long, then fold the ends up and seam the sides to create "pockets" at the ends of your scarf. 

Sampler. Use random yarns from your stash to create a mix-and-match scarf that doesn't match anything and makes no sense. I love projects like this, as they tend to "cleanse the color palette" if I'm stuck in a rut, and I always learn something new by throwing caution to the wind like this. 

Those were some of my ideas. :) I hope you found them helpful. Looking forward to seeing your own designs! If you'd like to design a pattern for THISyarn please visit our Contributions page to submit your idea. Thank you!

Make Clothing

Article & Pattern Provided by Mary Berry

Beautiful yarn makes stunning clothing.  When you aren’t sure what to weave next, weave yardage!

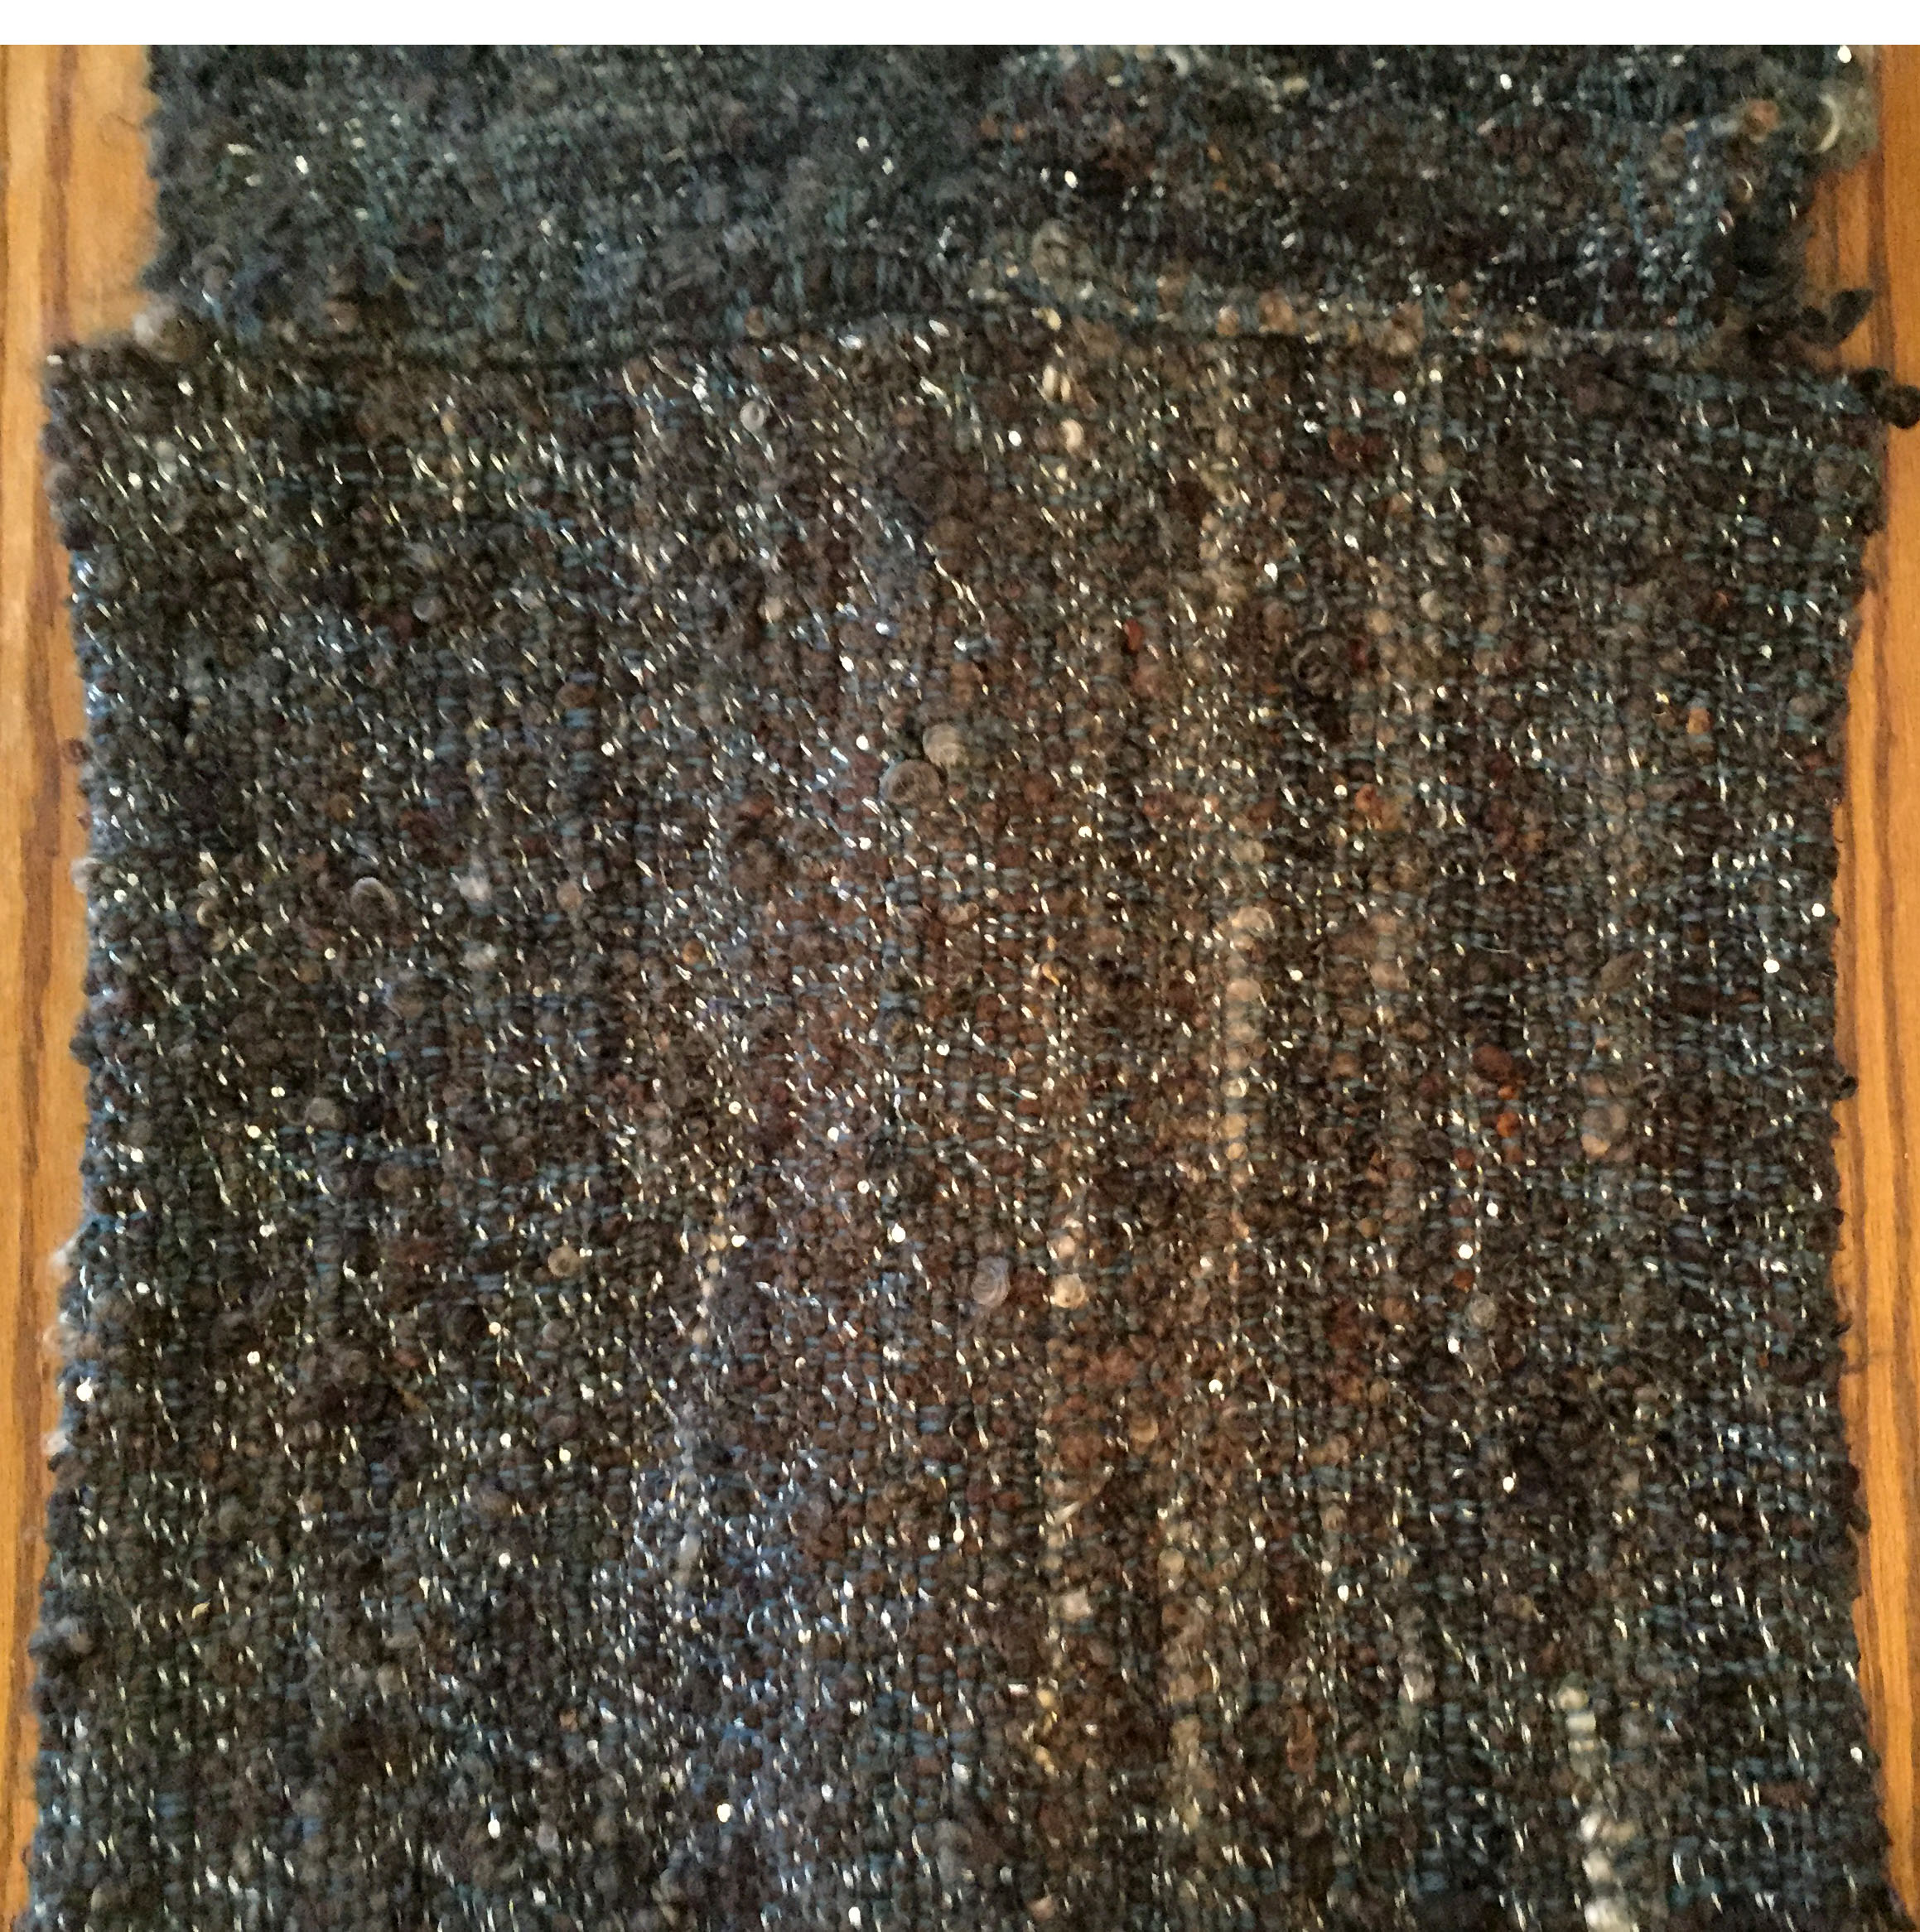
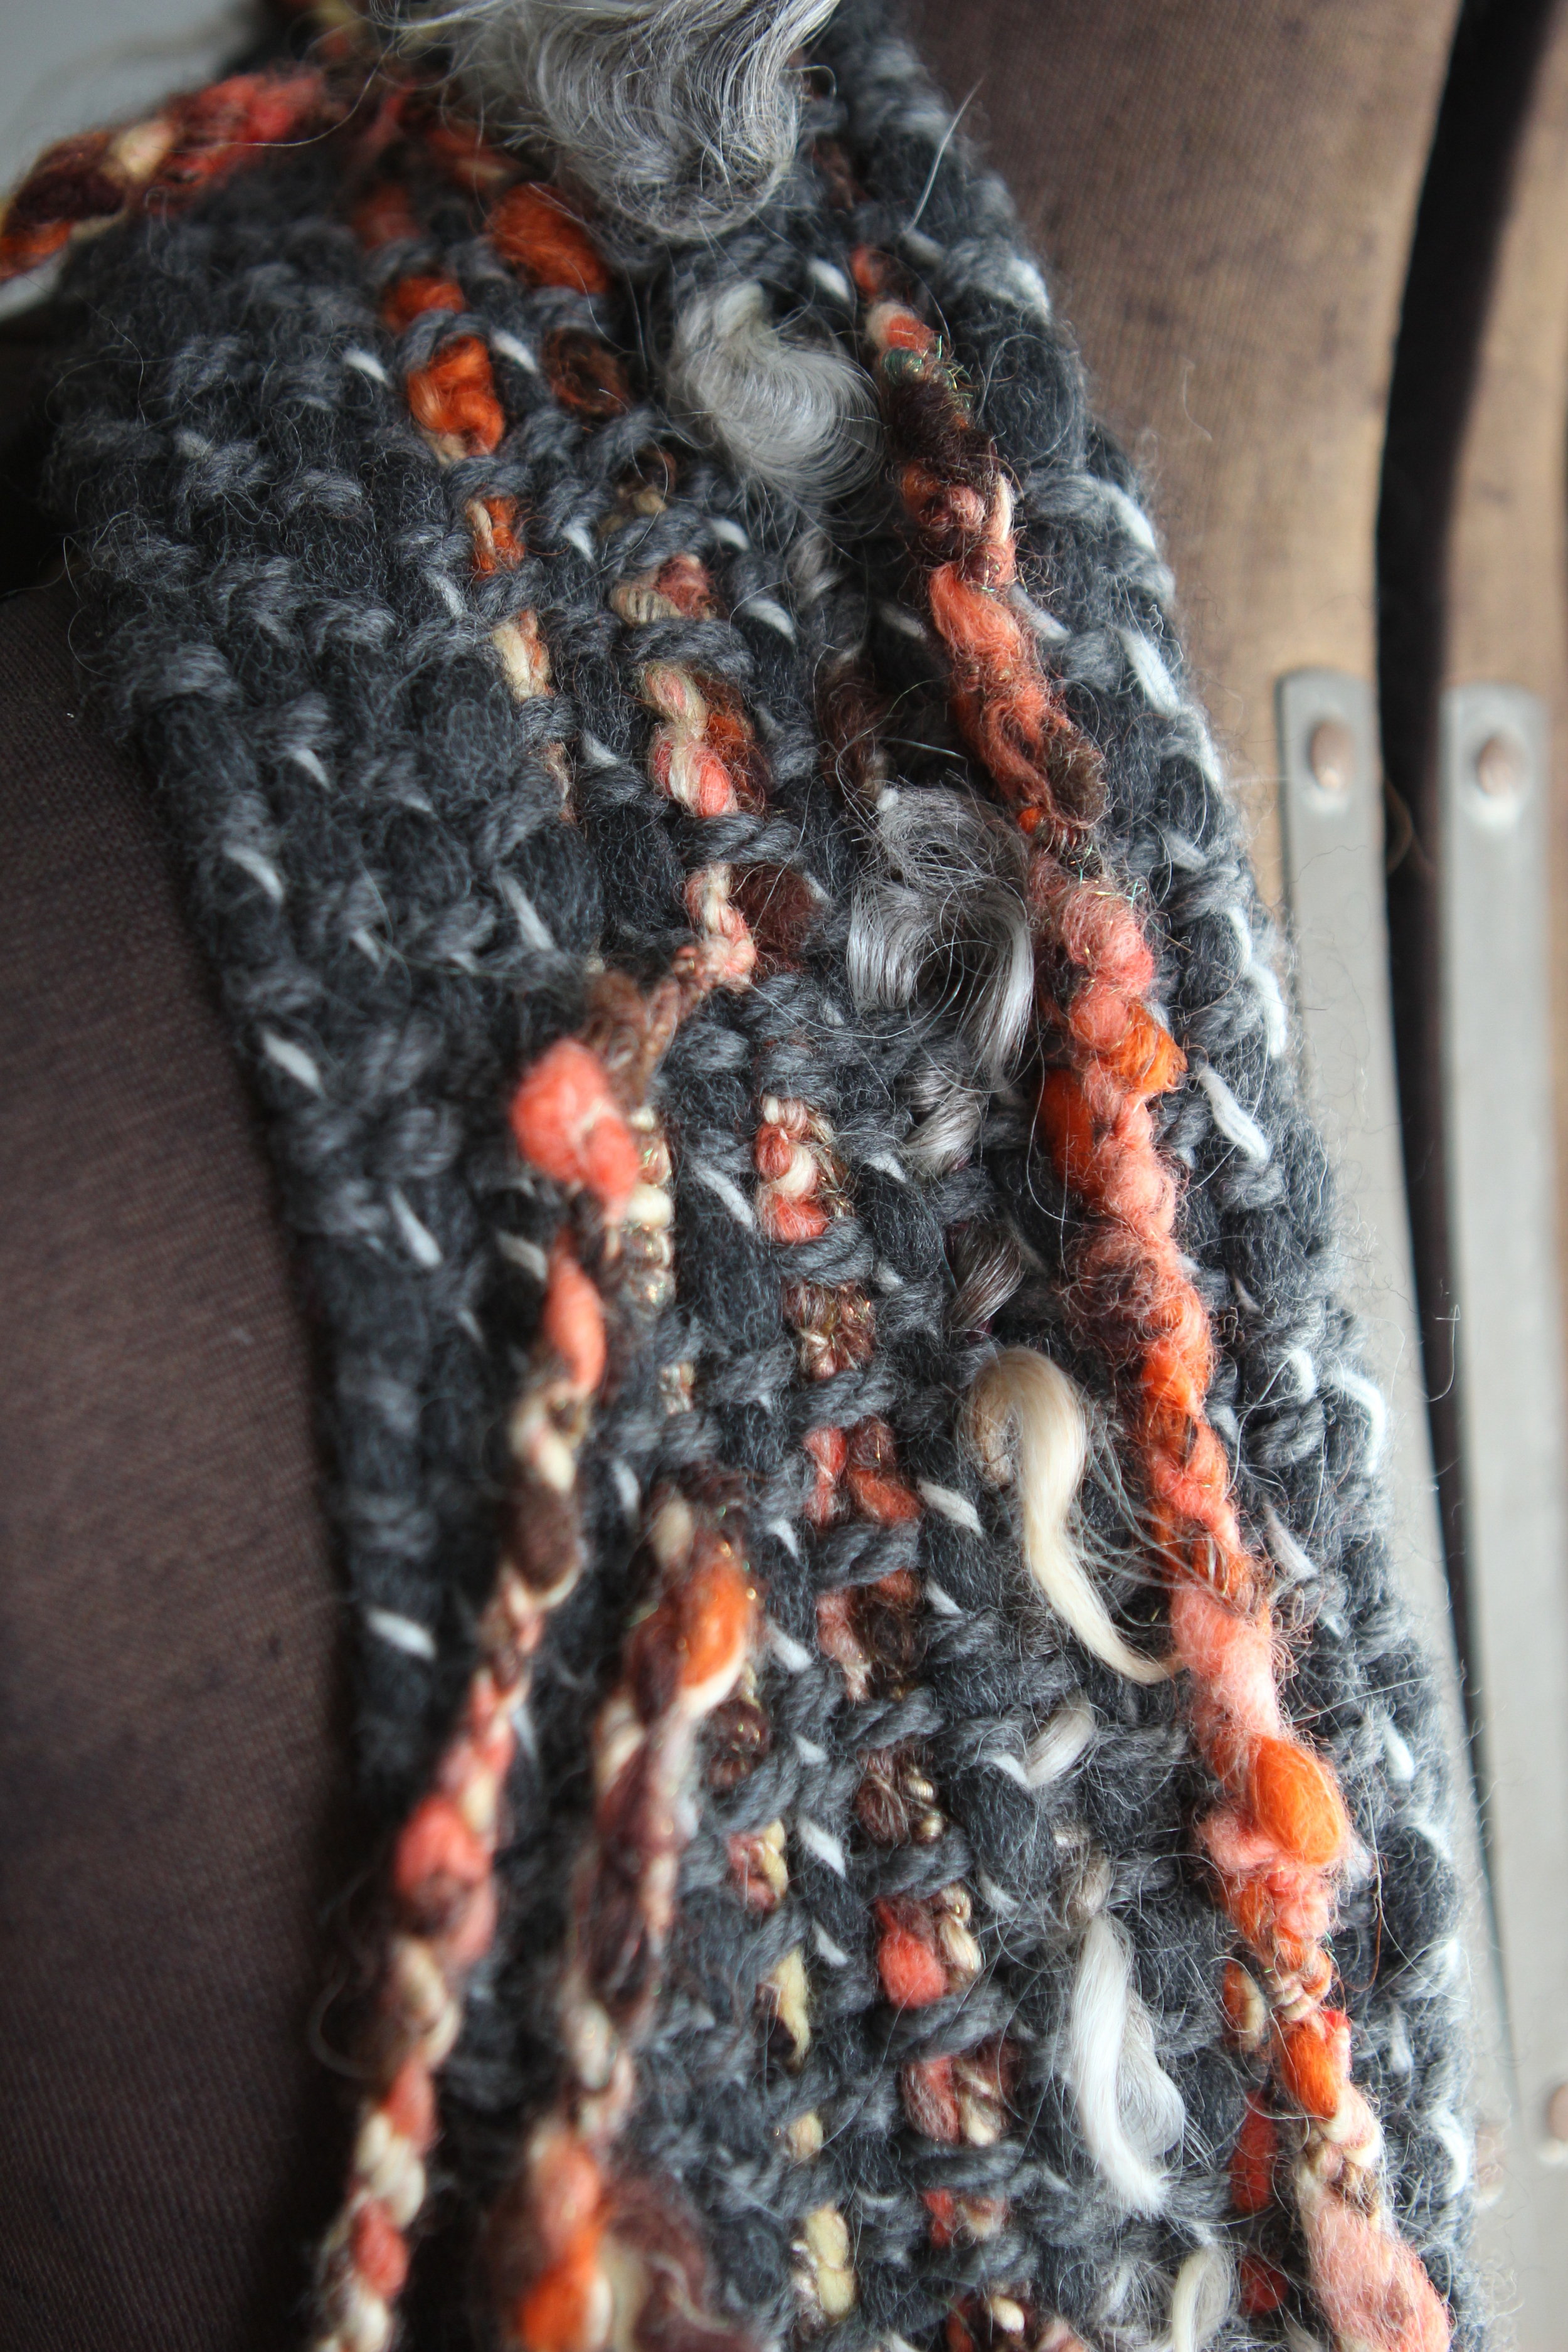
Less than three yards in a finished width of 18” was used in this long wooly vest constructed of only two pieces.  The shawl collar was picked up and knit on large needles to allow the yarn plenty of space to fluff.

Warp: Jagger Yarn Super Lamb 4/8 (Superwash Merino, Worsted Weight) in Graphite, 3 yards, 20” in the heddle.

Weft and Knitted Trim: Lock spun wool and mohair locks in mixed colors of gray and charcoal plied with a commercial yarn in silver with tiny sequins.

When weaving with bulky hand spun yarns, the best way to handle cut edges is to straight stitch twice on both sides of the cutting line, cut between the stitching, then turn under a narrow hem along each cut edge and stitch again.  This is particularly important on an edge where you plan to pick up and knit!  Without this turned under hem, your picked up stitches could pull your stitching right off the edge, leaving a gap where your knitting connects to your woven piece.

Mary Berry owns the Fancy Fibers Farm and the Fancy Fibers Store. At the Farm, she raises spinning fiber on the hoof. At the Store, she teaches spinning, weaving, felting, dyeing, and rug hooking and sells all the fun stuff you need for those crafts. Her life goal is to entangle everyone she meets in the world wide web that is the fiber arts.

Weaving Outside the Warp

When I was sitting down next to Heather Lightbody weaving at our looms, I noticed her using a technique I hadn't tried before. She would take the yarn and, rather than passing it between all the warp threads, she would pull it to the top of her weaving - let it rest over the warp threads, and then tuck it back in-between the warp threads to secure at the end of the row.

Sometimes it would just be a thick clump of wool that she allowed the freedom outside the warp. Sometimes an embellishment. Sometimes a couple inches. Sometimes almost an entire row. This created a beautiful airy effect that really showcased some of the unique textures that art yarn provides.

You can use this technique in any weaving, using any warp, and any yarn. Simply bring your yarn up thru the warp threads, let it rest across them, and tuck it between the warp threads later on in the row.


Screenshot 2017-02-01 20.37.39.png

Weaving Accent Stripes

by Ashley Martineau

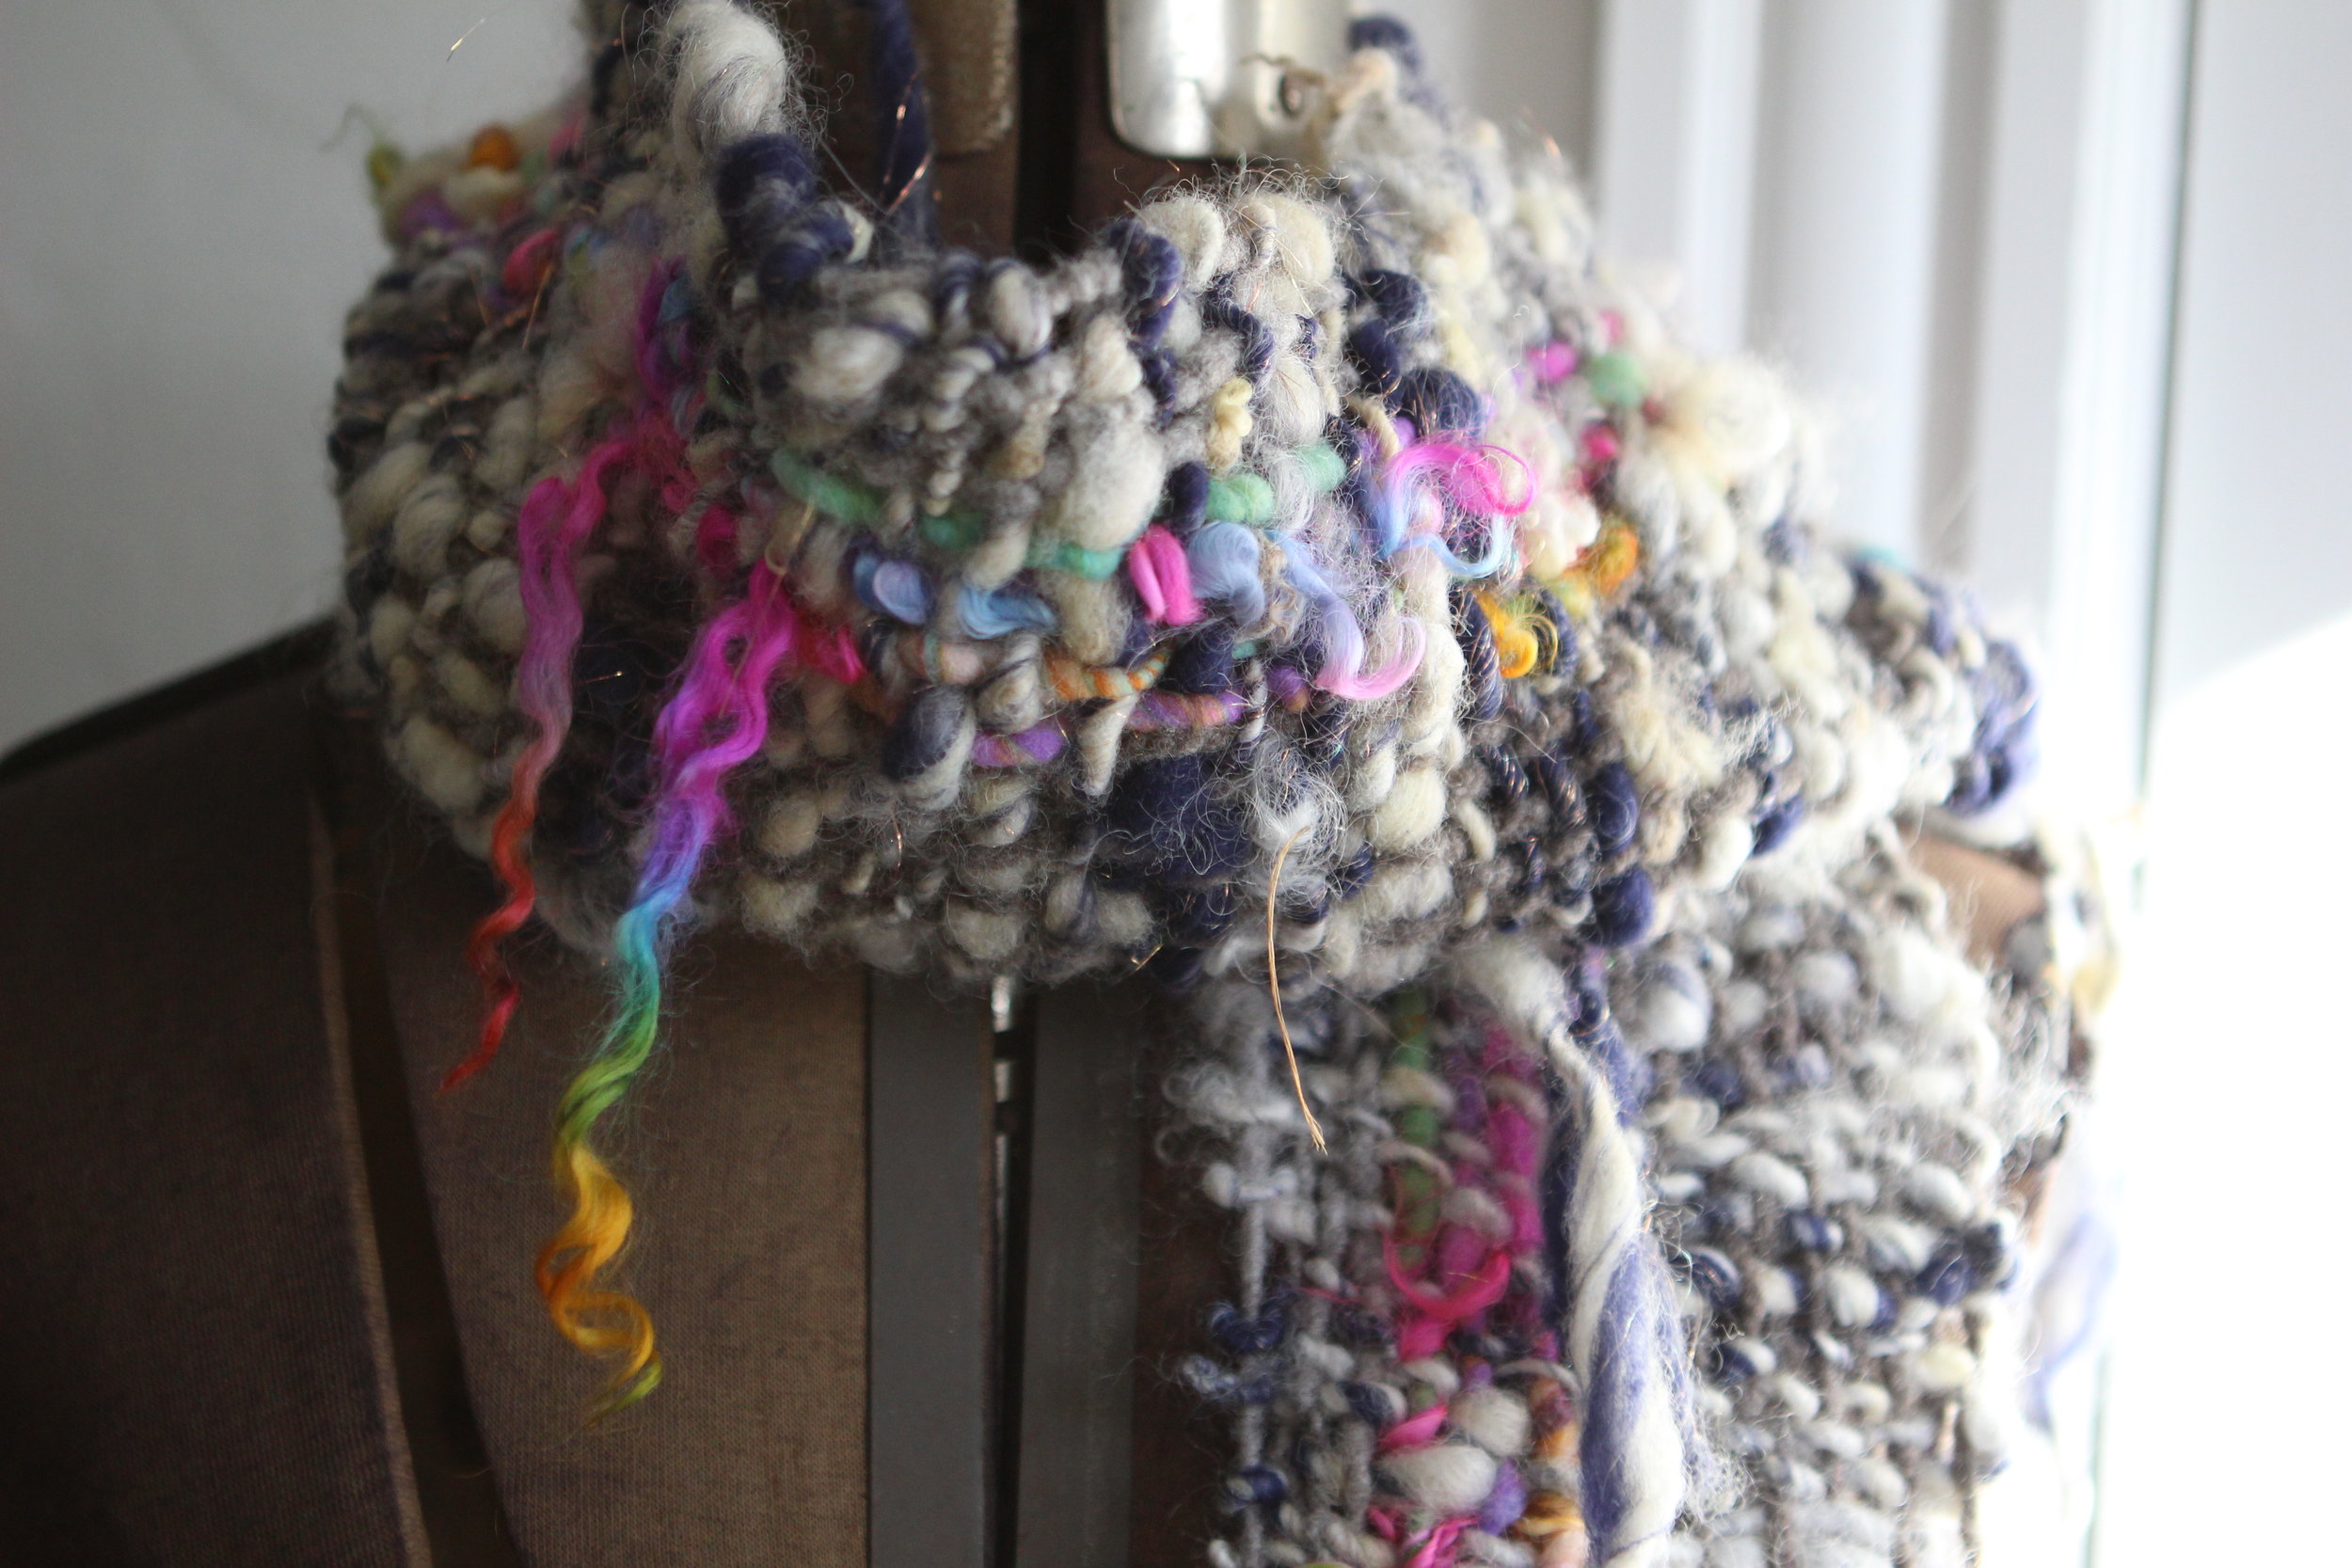
This idea was centered around a yarn that Laura Spinner had spun from Wensleydale Locks from Melissa Kness

You can read more about Melissa's farm here and shop for this yarn in Laura's ETSY shop - or spin your own from a kit from Melissa's ETSY shop

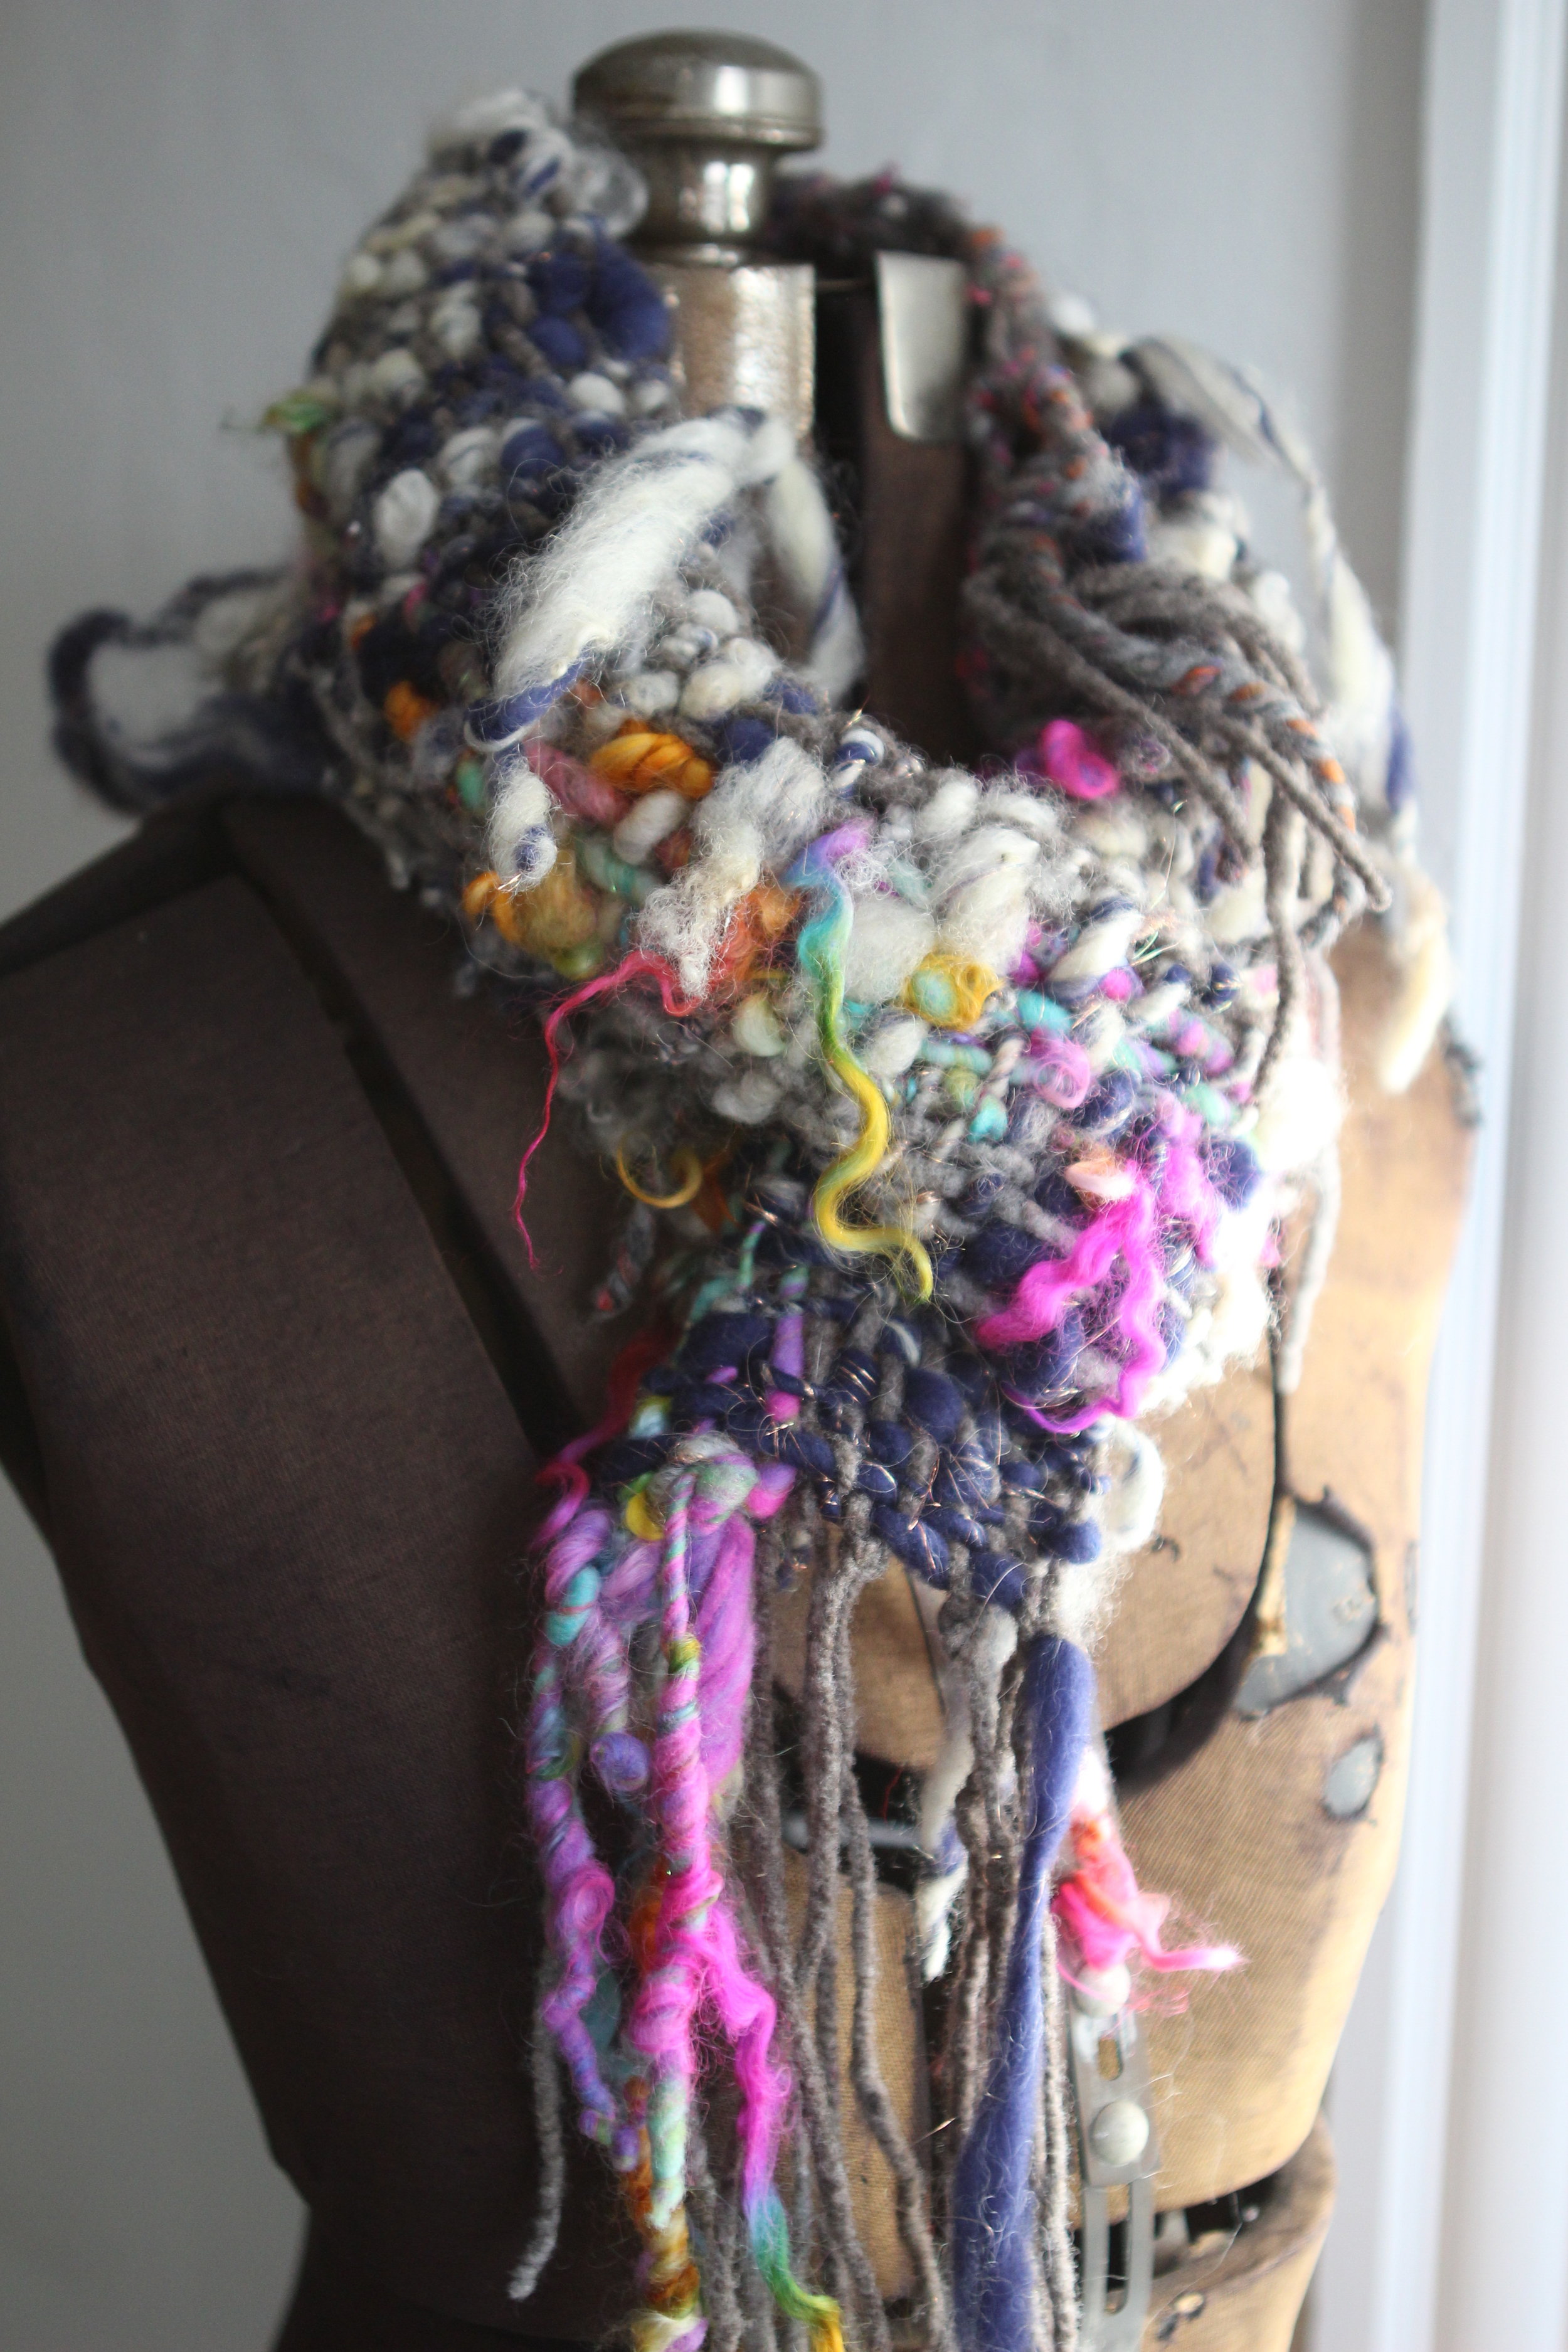
I let Melissa choose the colors of this yarn and told her all I wanted was some fun tailspun to use as an accept warp in a scarf. I ended up using this yarn in almost every scarf in my Spring 2017 series for THISyarn because it was so joyful and I loved working with it.

My idea for this scarf was to weave this yarn with pure white yarn - but when I sat down to weave I didn't have enough white yarn. So I used a blend of white & grey & navy blue with some copper (all psudo-neutrals to my eyes) and started weaving. The end result is a more muted idea of my original inspiration - but just as beautiful.

In order to accomplish this look I used my Ashford Sampleit Rigid Heddle loom with a 2.5 dent reed. I used 4 strands of the accent yarn (slightly off-centere) and grey handspun warp yarns in a similar weight thru the rest of the reed. Then I wove the navy / white handspun yarn from my stash until I was at the end of the warp. The last step was to go thru the scarf and fine-tune the locks by gently pulling them out of the weft and letting them hang free.

I think this scarf came out simply lovely - and it's a great use of one special accent yarn in your stash over an entire project. Accent stripes would be lovely on woven blankets, cowls, pillows, and hats. 

Weaving Fabric Warp

by Ashley Martineau

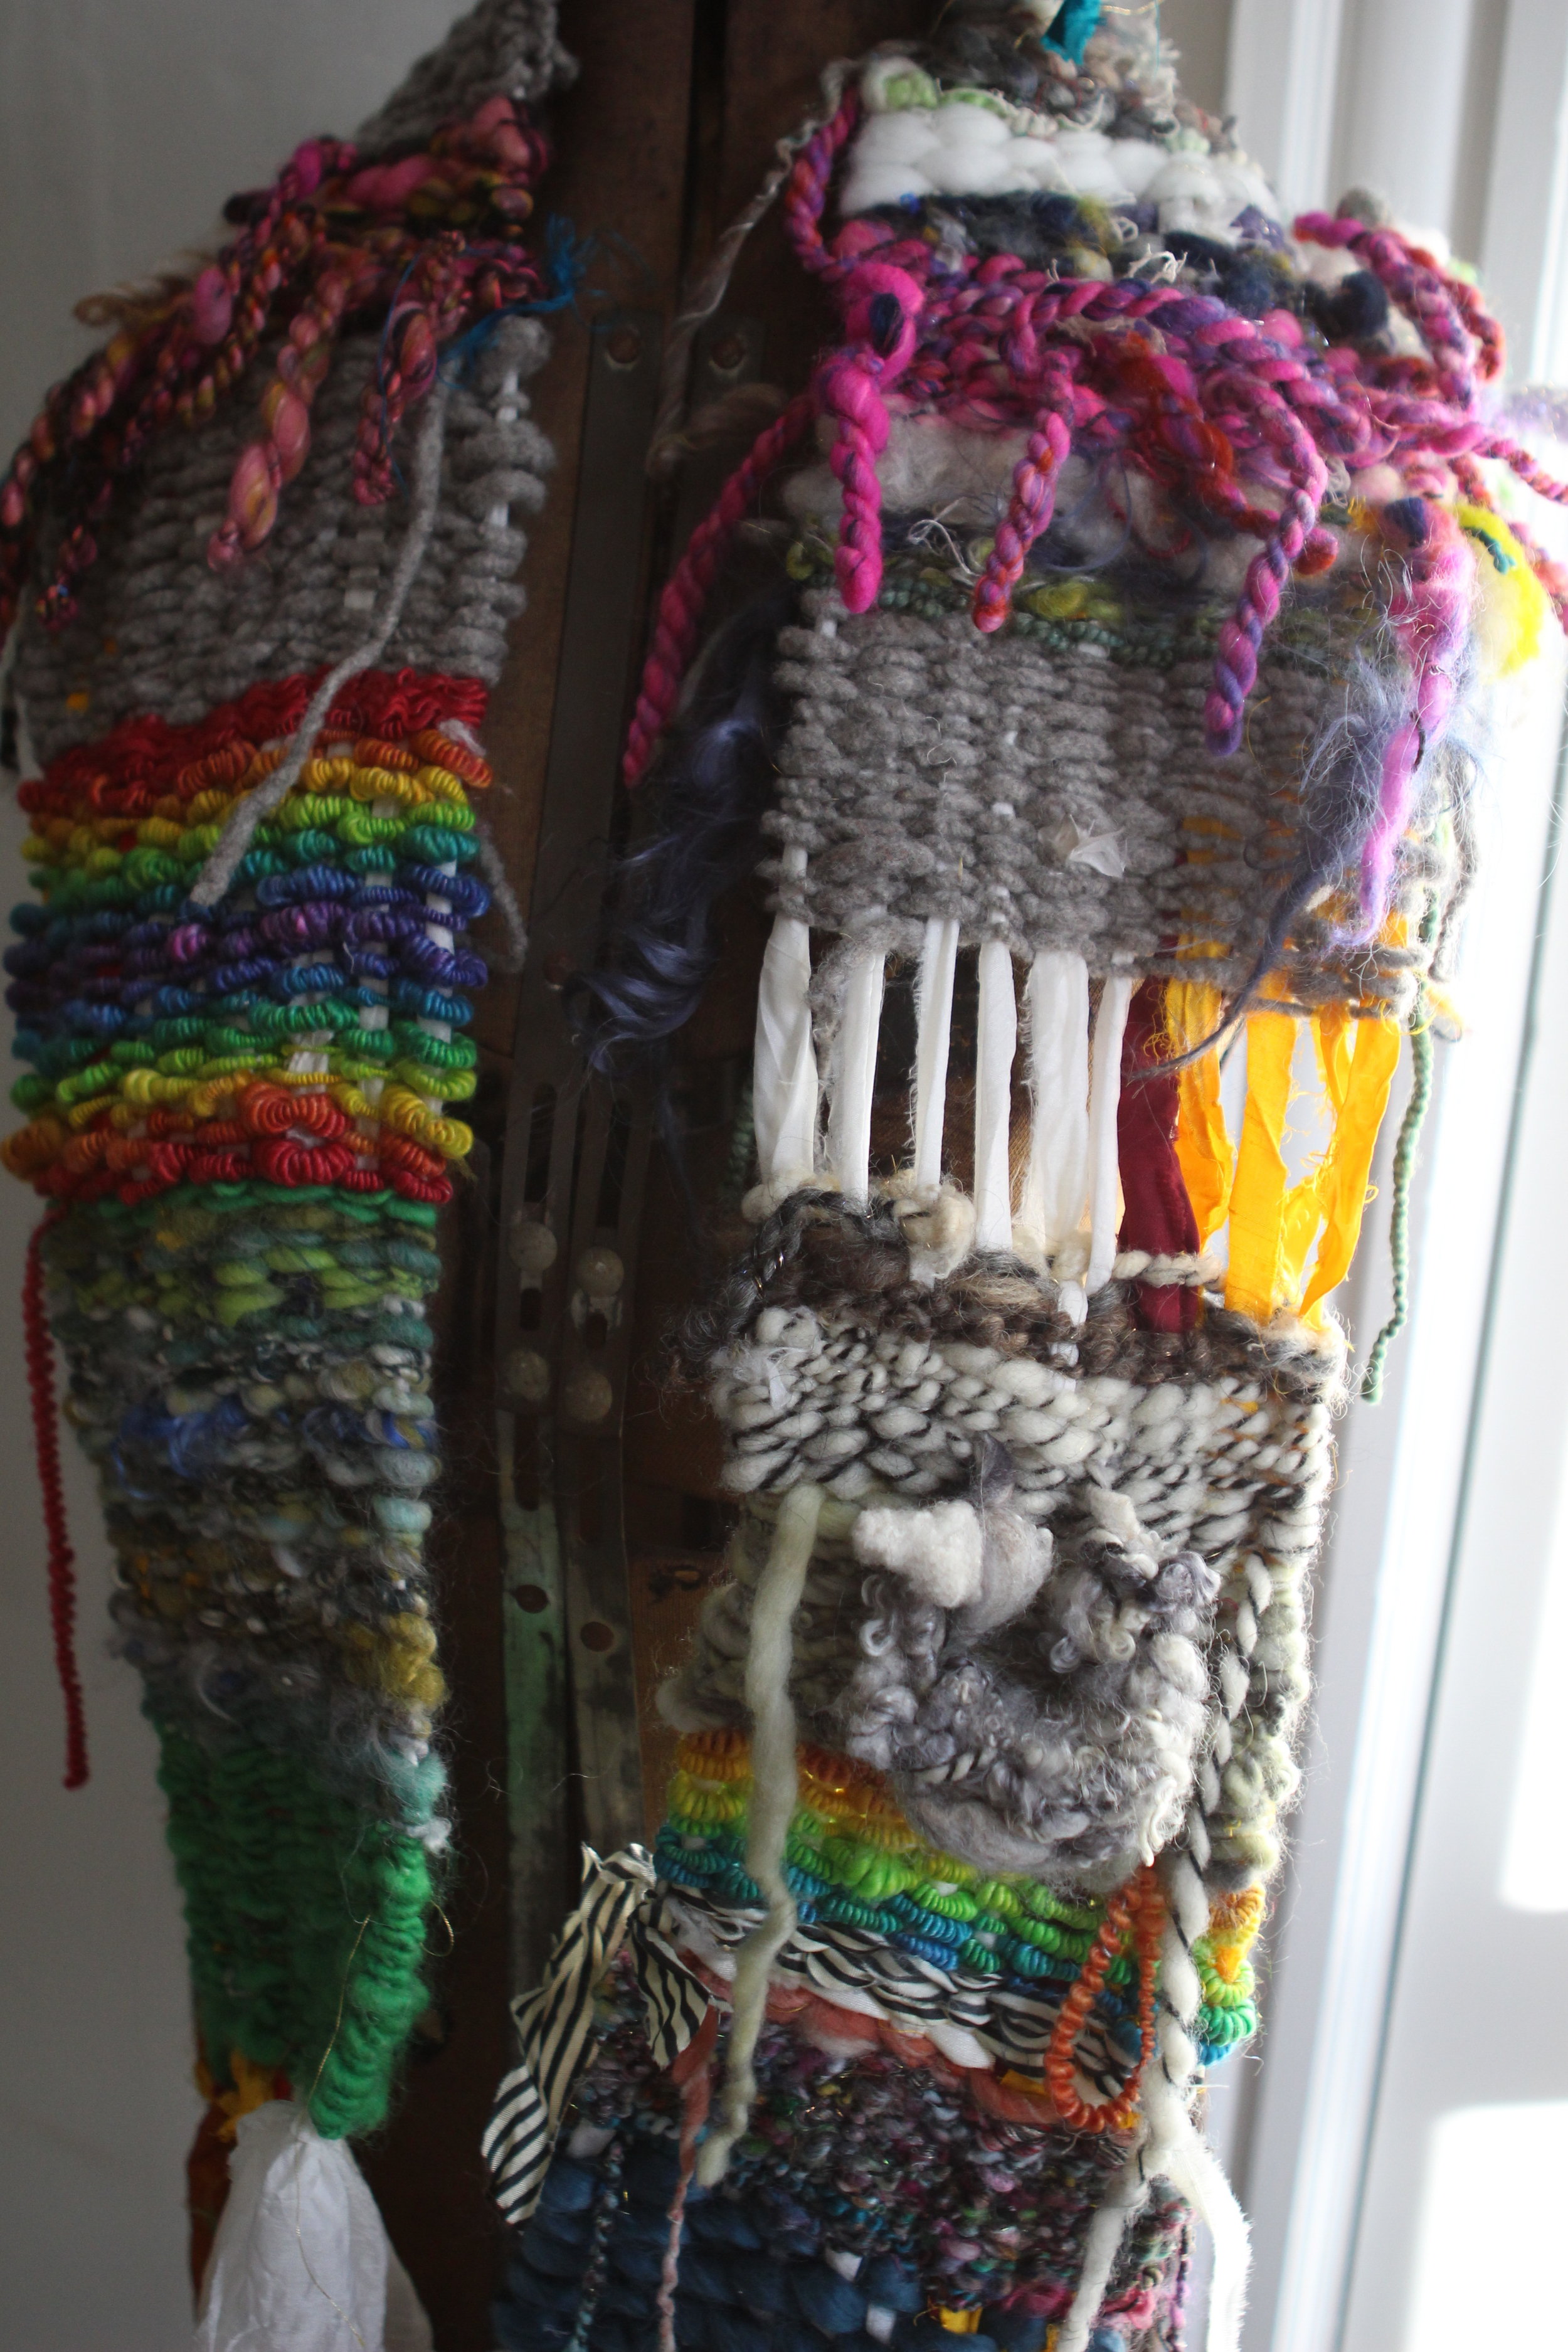
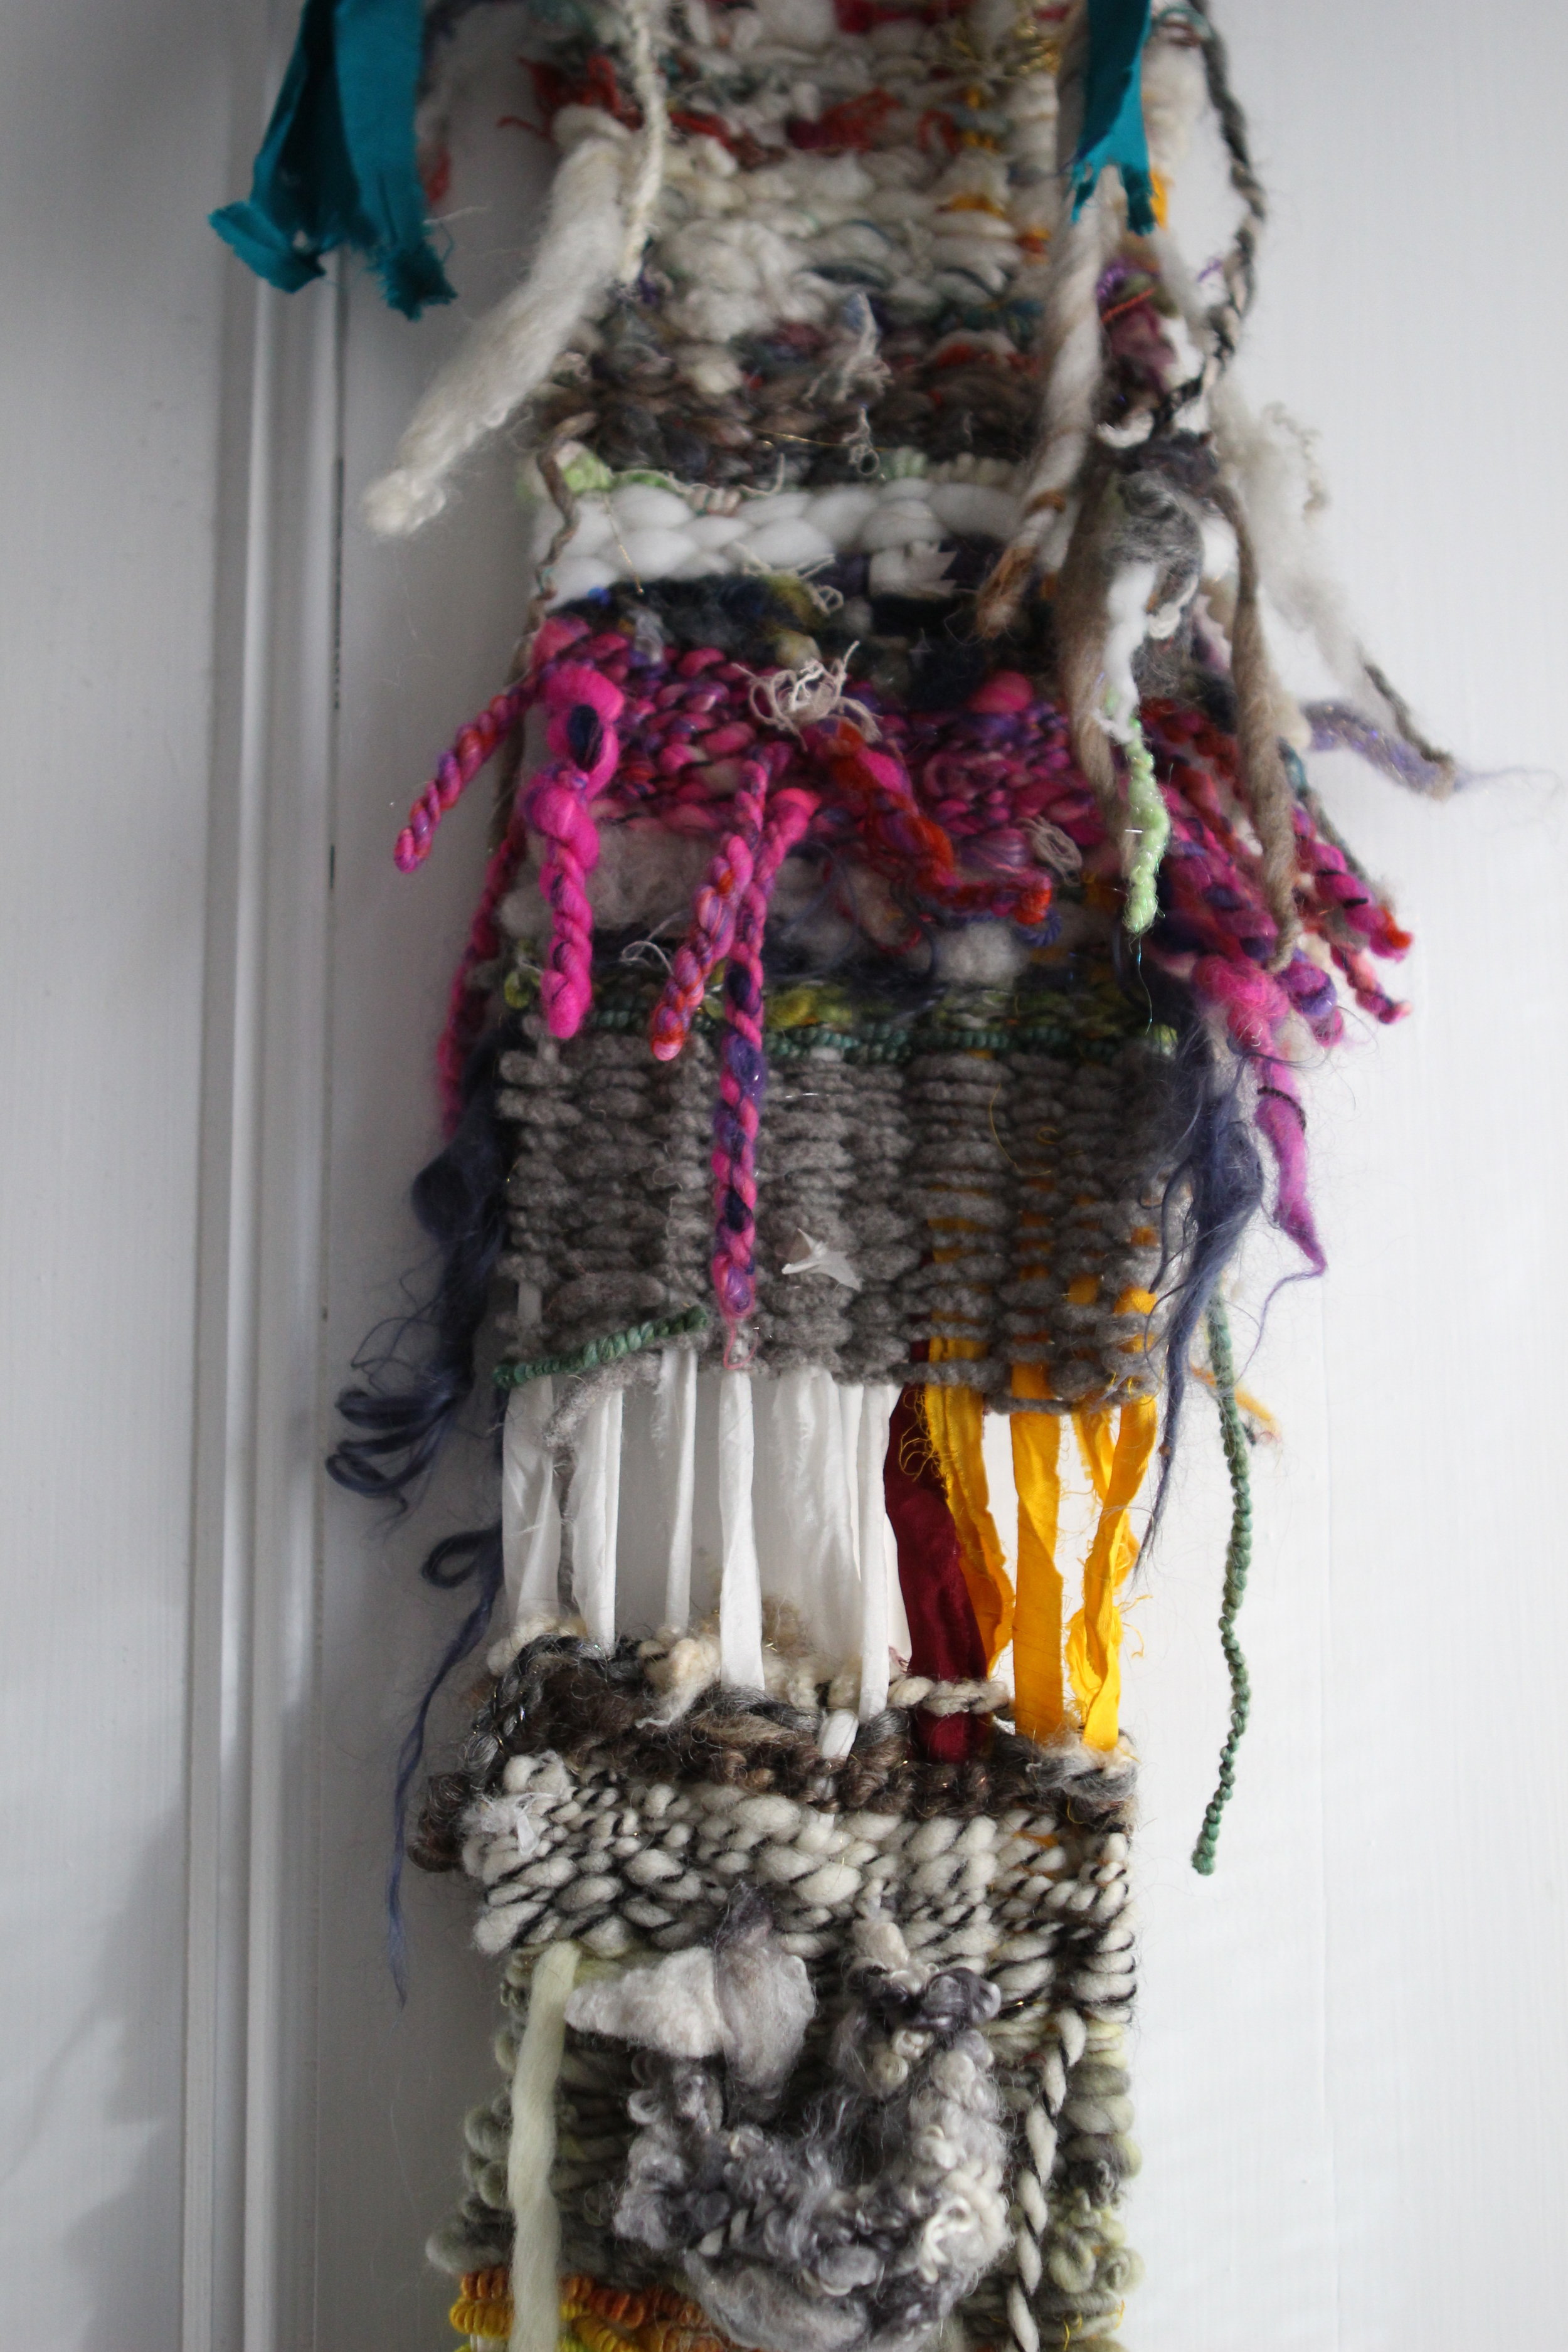
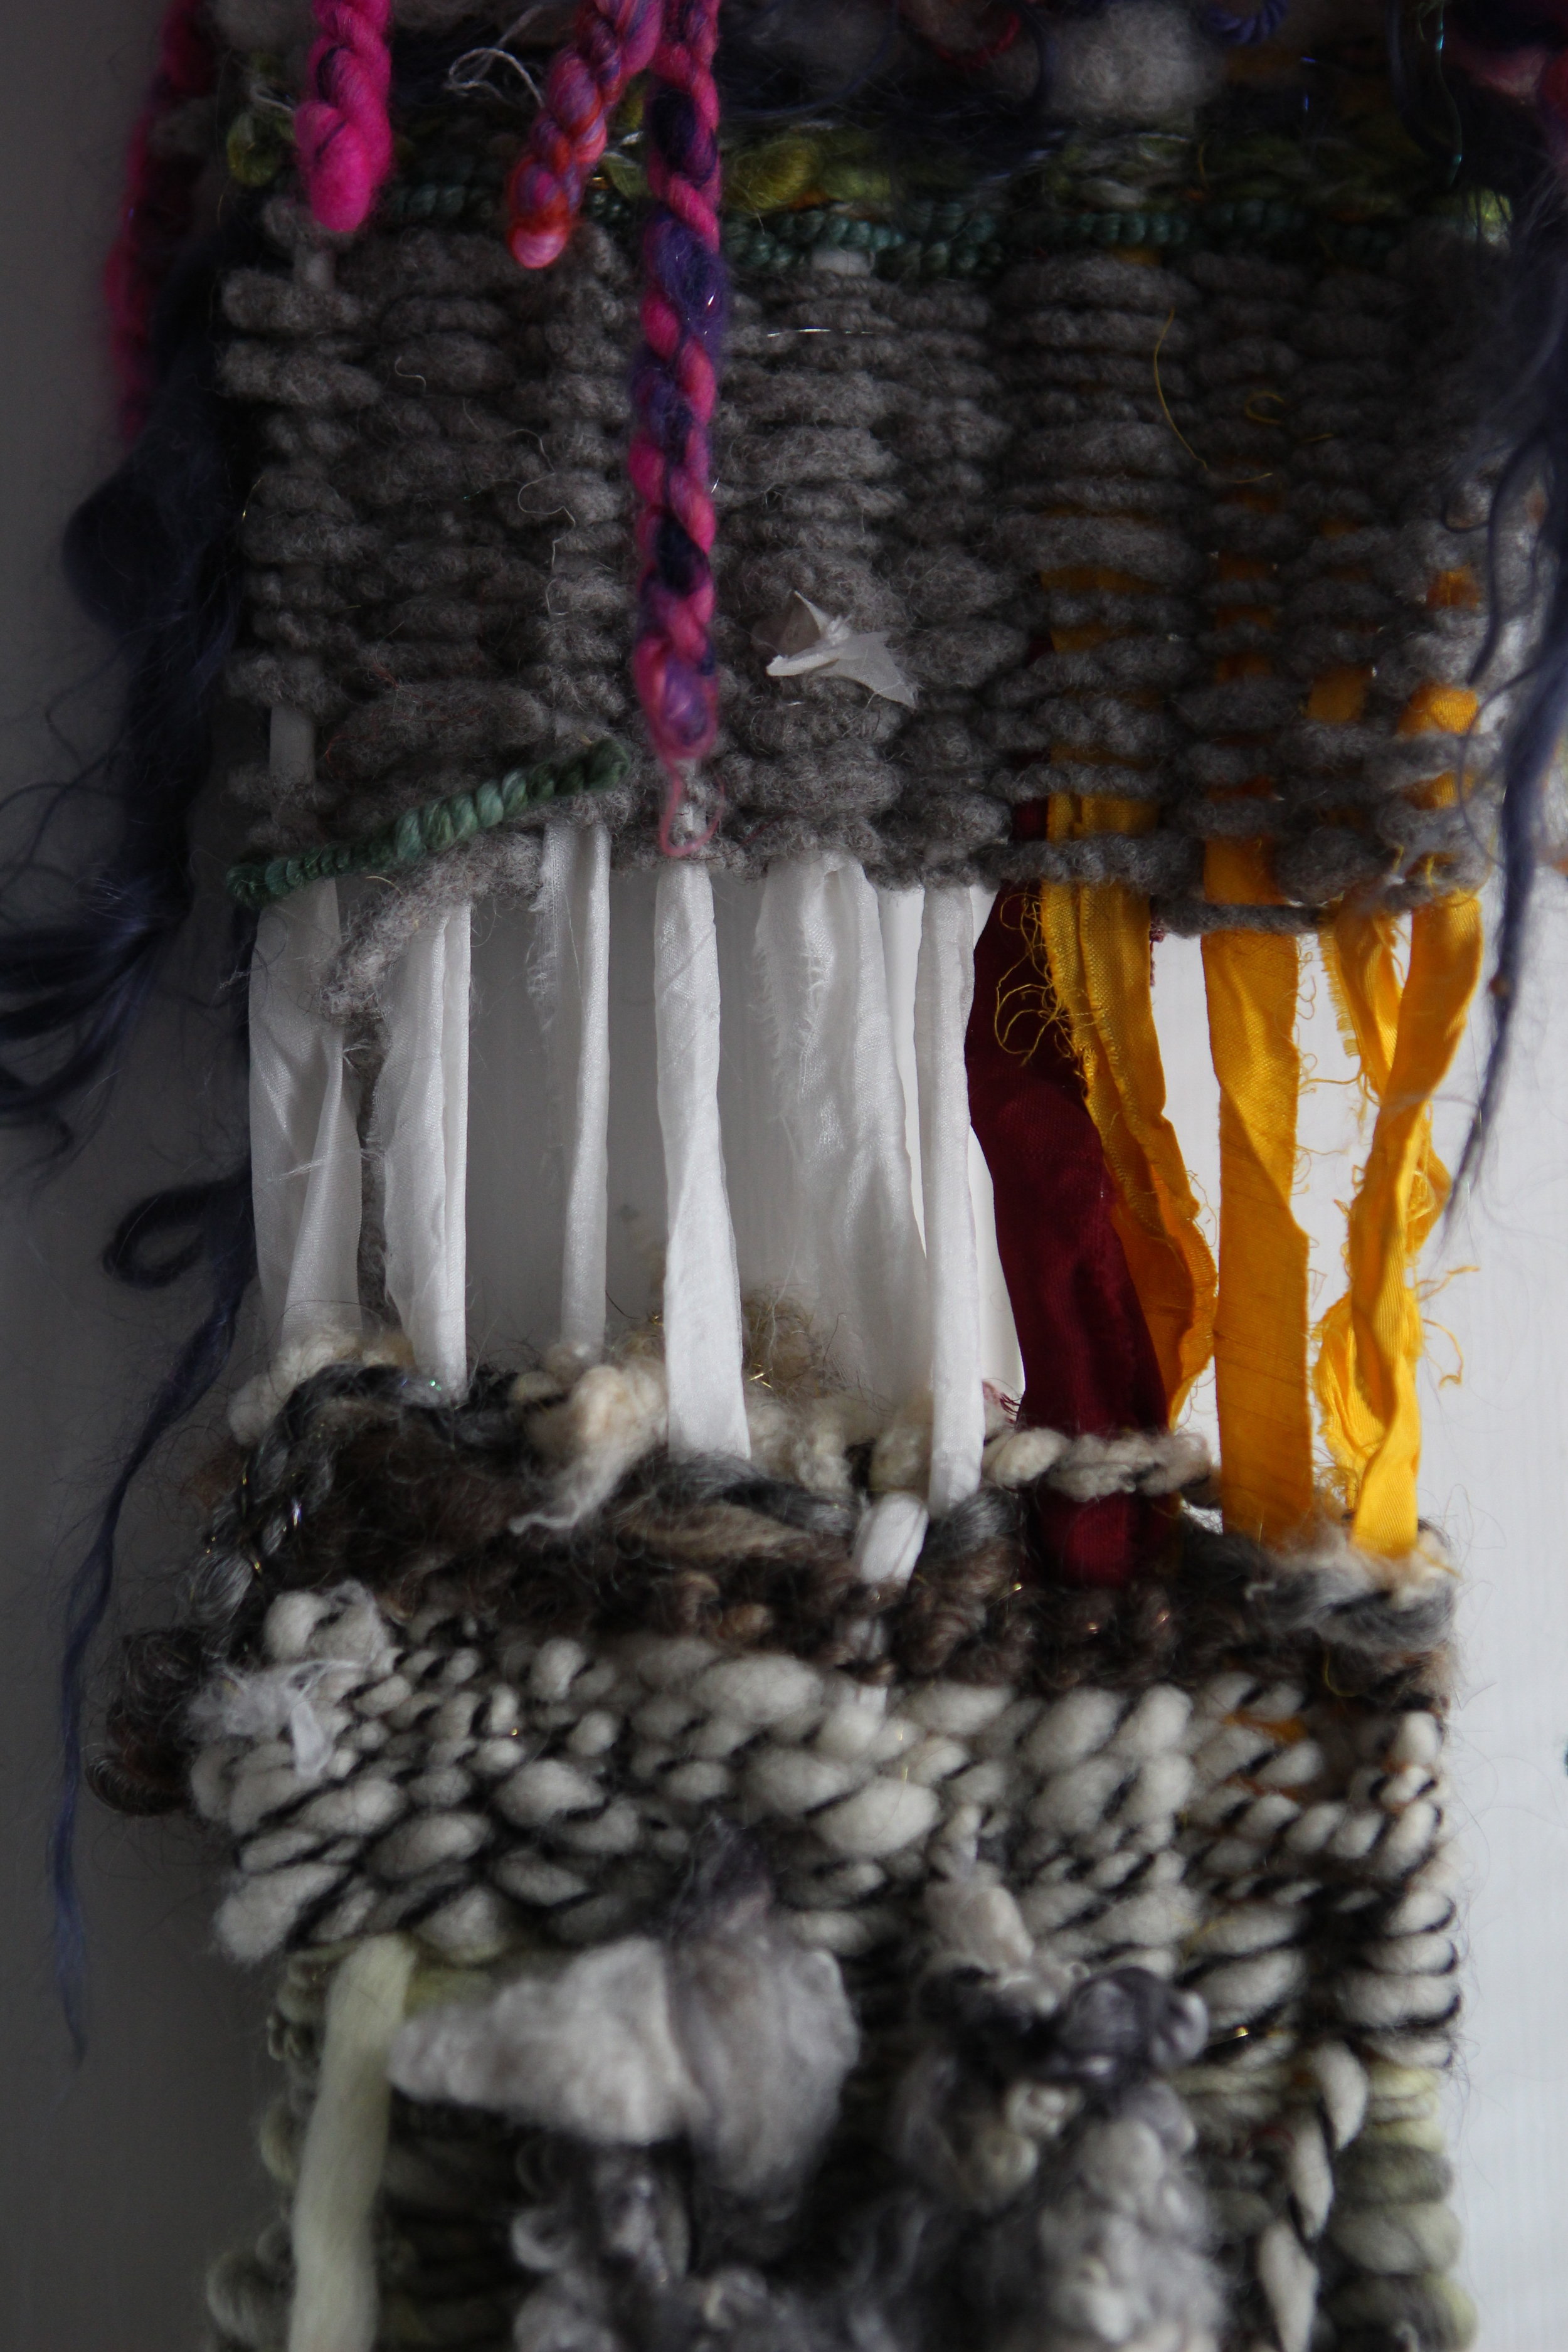
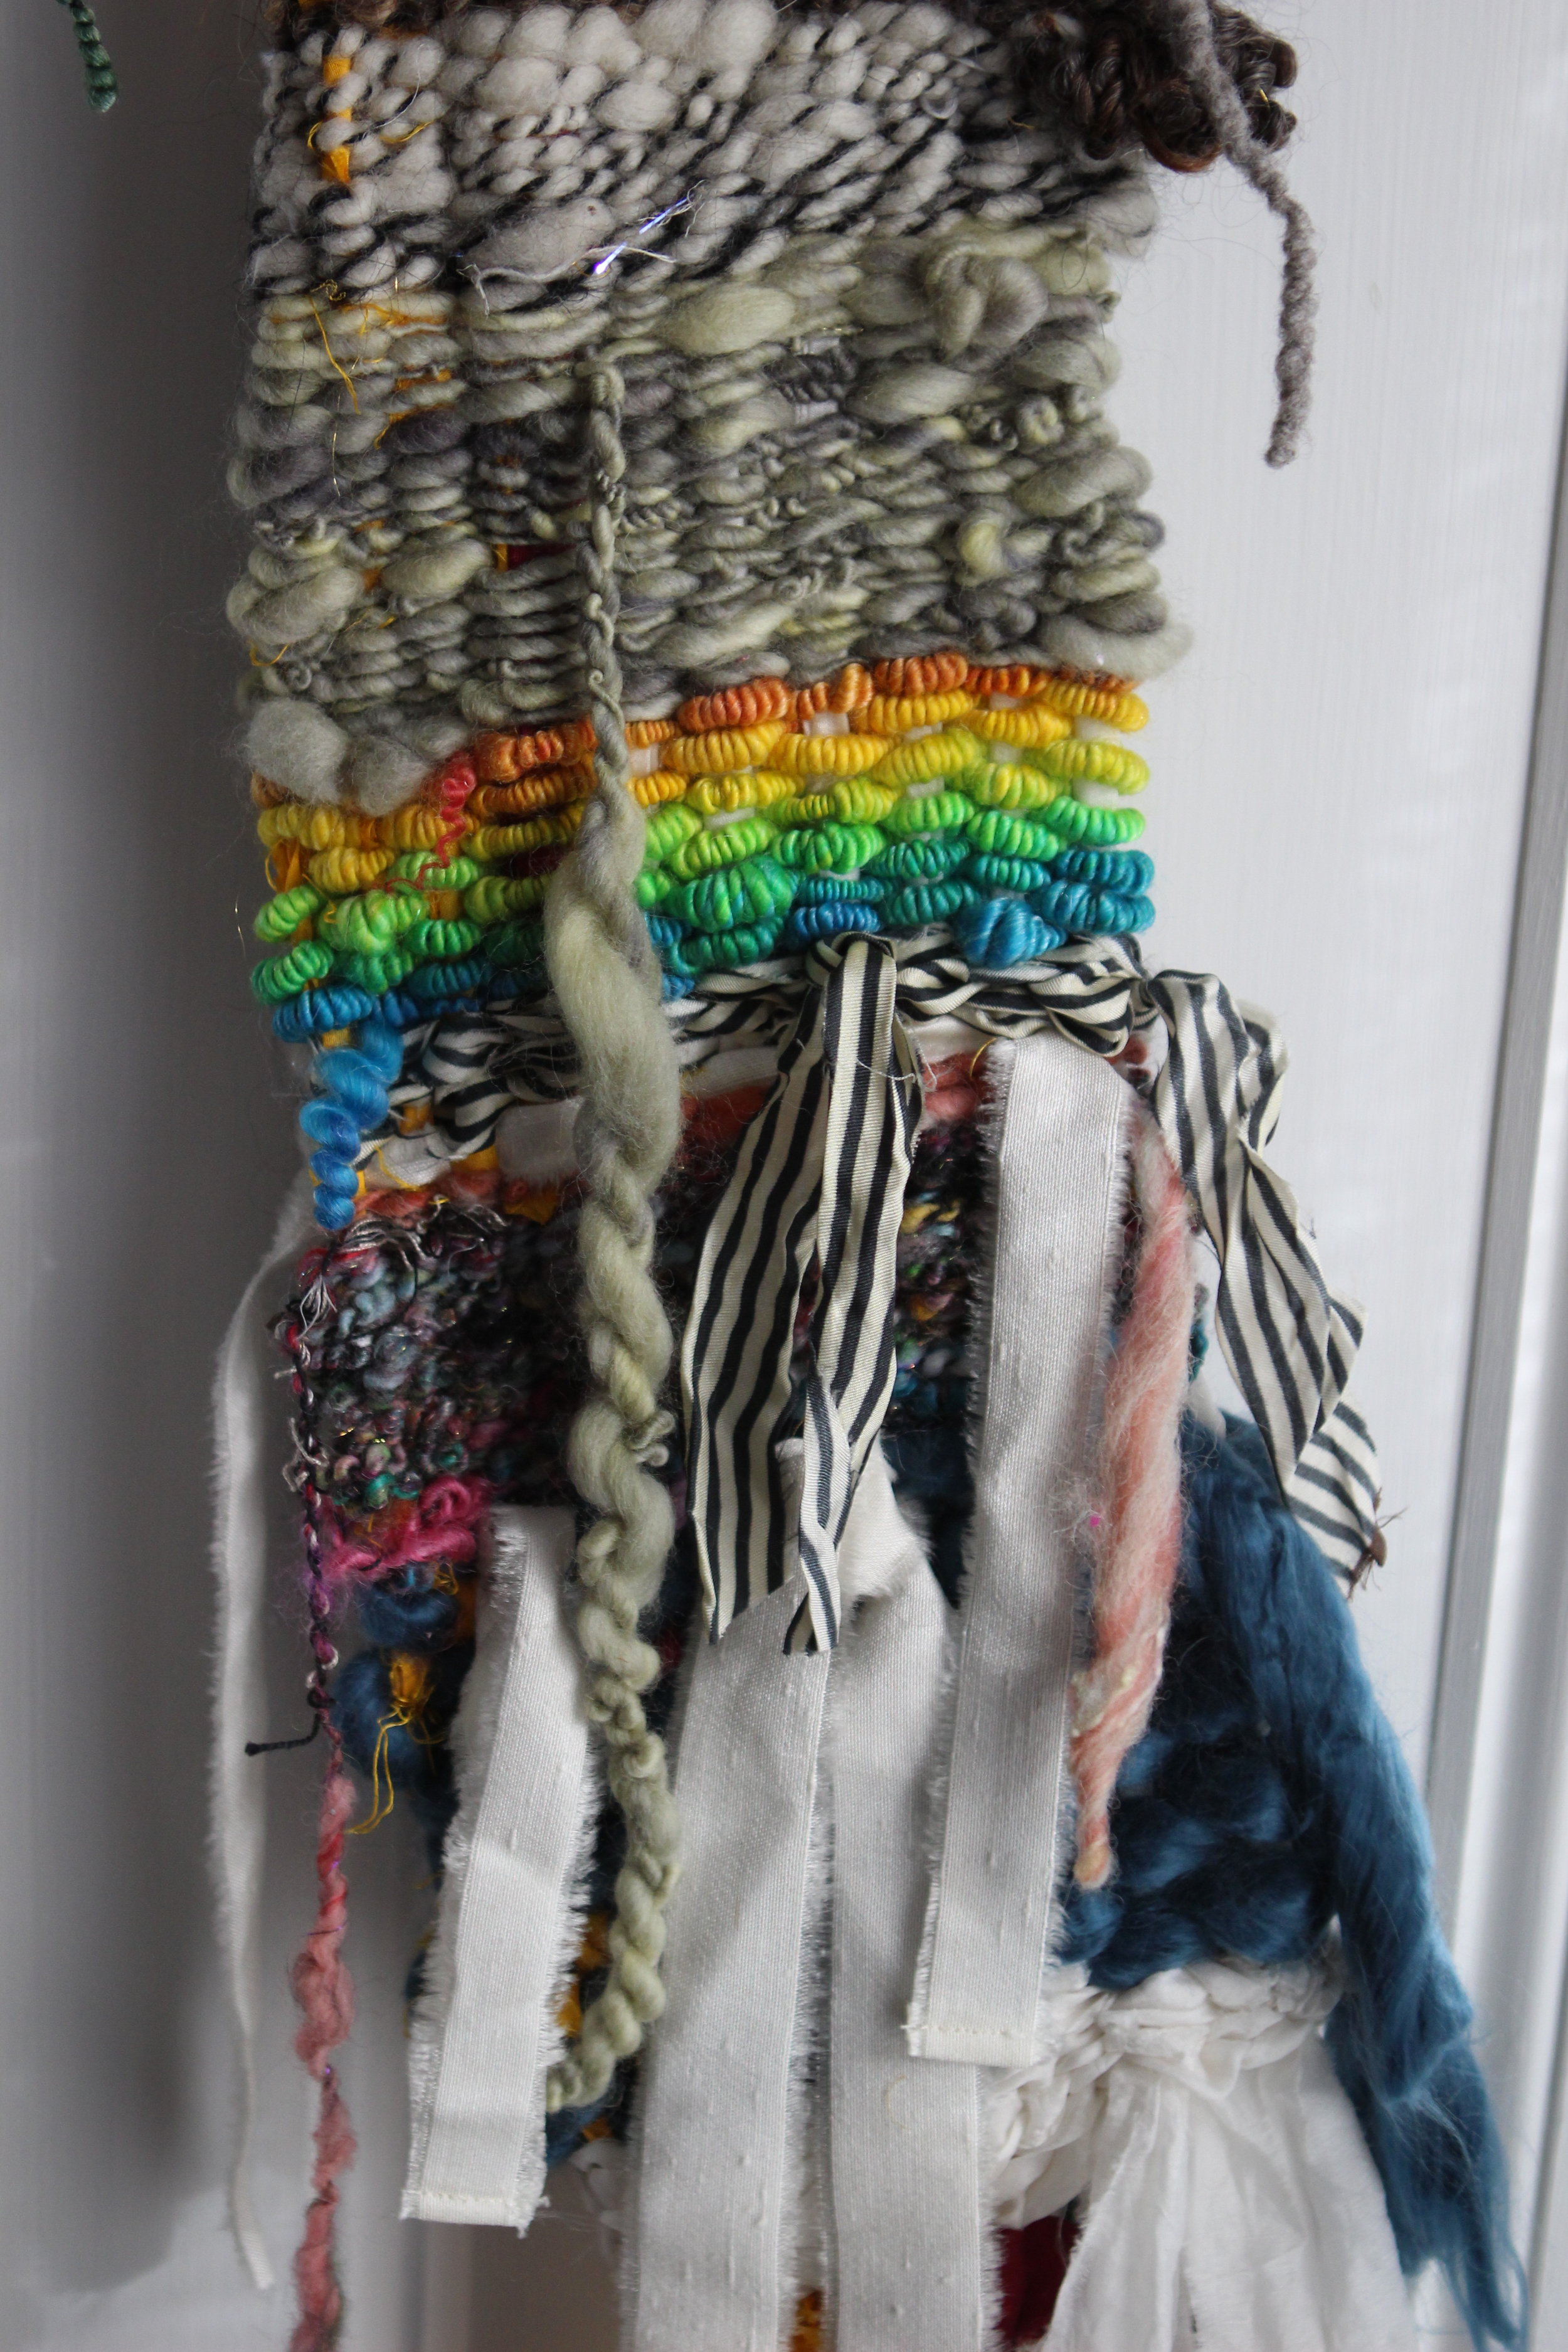
One of my weaving experiments was taking sari silk ribbon as my warp on my Ashford Sampleit Loom (using a 2.5 dent reed) with art yarn and seeing what the benefits & downsides were for using fabric as a warp.

My favorite moment of this scarf was when I took it off the loom and didn't like one of the wider ribbons I had woven as weft. I removed the ribbon, which left a gaping hole showing off the warp and I really liked this. Looking back - I think I would have spaced out this scarf with many open-warp areas to show off the warp. Maybe weave an inch of worsted weight yarn. Then weave in bulky fabric (to be removed to expose the warp) for a section - then weave worsted again. 

The silk ribbon gave the scarf plenty of drape. It didn't feel stiff or tight. The fringe on the ends was spectacular - full and thick. 

You could play with this idea by using fabric as a stripe down your warp - or just on the edges. Or just do fabric down the middle. Experiment. Try something new. You never know what you might discover when you step outside of the books. 

Happy Weaving!

Luna Moth Scarf

by Robyn Story

I wrote this pattern with the concepts that it be modular so as to work well with using handspun yarn, and that the module would resemble a moth and its flightpath. You can increase to any number of stitches that you like the look of, I thought 23 was perfect for the worsted to aran weight yarn I was working with. You can block or leave as is.

  • Cast on 5 sts.
  • Row 1: k1, yo, k3, yo, k1
  • Row 2 and all even rows: k across 
  • Row 3: k2, yo, k3, yo, k2

Continue to alternate even k rows and increase rows, with one more st on each side of the center k3 each increase row. Use stitch markers if that helps you.  Continue until you reach 23 sts, then bind off on the even row until you have 5 sts left. Knit remaining stitches. Repeat from the beginning to make more modules until you run low on yarn or reach desired number of modules, then bind off all sts at the end of the last module.

Sunbreak Woven Scarf

by Robyn Story

I had some unusual yarns that I wasn't sure what to do with. Really short length of lock spun, a dozen or so yards of long twist fringe yarn, a really fat somewhat soft spun wrapped yarn... they needed the right project. When I bought a 2.5 dent heddle for my loom, suddenly some possibilities opened up! I decided to use them as warp.

Now, I did regret using the fringe yarn as warp while I was weaving because I had to keep all the fringes from getting packed in with the weft for every pass up until the fringe was at the edge of the weaving progress and ready to hang down. Multiply by all the twists, and it was a lot to pay attention to. But when it was done, I was glad I persevered! I still might leave those yarns as weft choices in the future, though. Ha.

The other yarns looked and worked nicely as warp and I'm glad I used them.

For weft, I used a mix of yarns, but didn't pack them too tight most of the time so the warp yarns could shine. I did use a little of commercial yarn because matching color mattered more to me than being exclusively handspun.

Fun details besides the twists include cutting the warp ends long and uneven so it makes a cool fringe, and weaving in a little crocheted flower (though I did tie it in because my ends were a bit short to hold it in place when just woven in). 

I love the creative possibilities in weaving, and I think it's a perfect medium to highlight the good qualities of both "normal" and unusual handspun yarns! I will be able to continue to play with dent, warp, and weft choice for many years to come without getting bored.